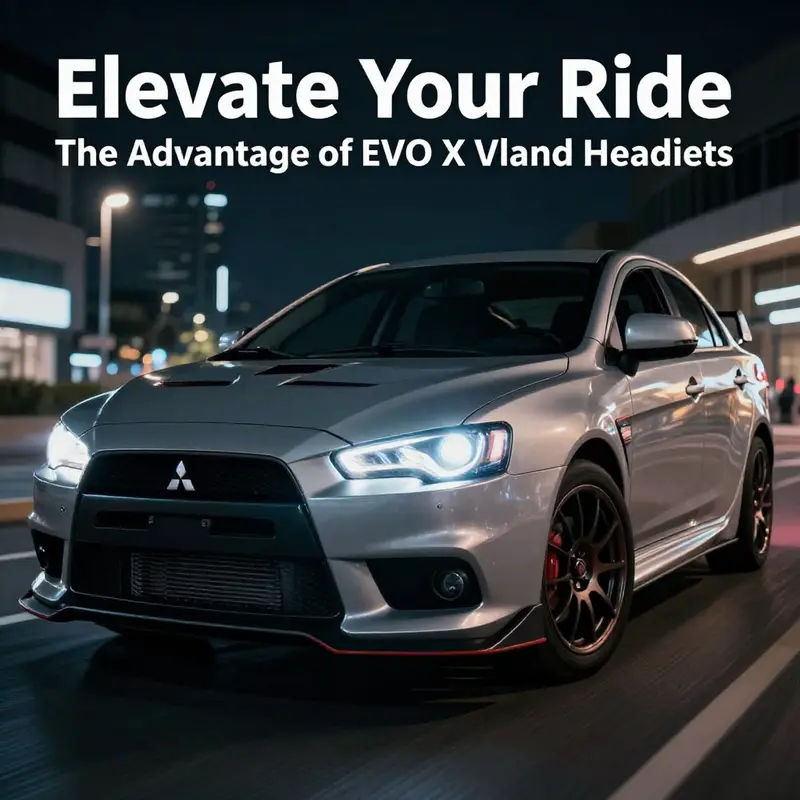
For business owners in the automotive industry, offering enhanced vehicle accessories like the EVO X Vland headlights can be a game changer. These customized lighting solutions not only amplify vehicle aesthetics but also improve safety and functionality. Understanding the details—features, installation compatibility, and market options—will empower you to effectively cater to your clients’ needs. Each chapter delves into these key areas, ensuring a comprehensive grasp of how EVO X Vland headlights can benefit your clientele and improve your offerings.
EVO X Lighting Upgrade: A Detailed Look at VLAND-Style LED Projector Headlight Features
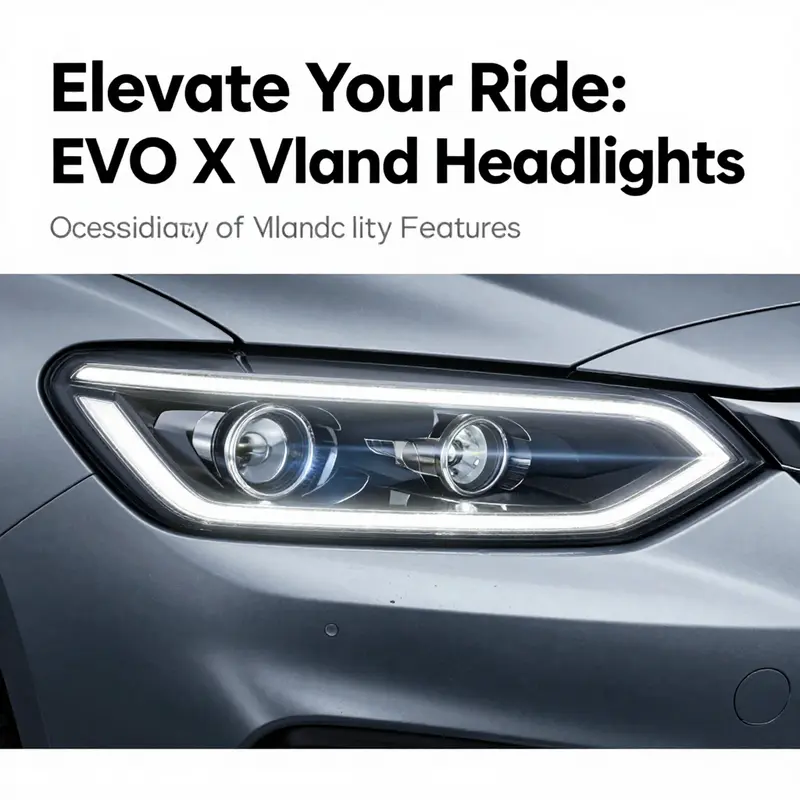
A unified view of the lighting upgrade and what those LED projector headlights bring to an EVO X
Upgrading an EVO X with a modern LED projector headlight assembly changes both how the car looks and how it performs at night. These assemblies pair efficient LED sources with projector optics and signature halo rings. The result is a sharper beam pattern, improved daylight presence, and a contemporary face that suits the EVO X’s aggressive styling. This chapter examines the features most relevant to owners considering this upgrade, and explains how these elements interact to provide real-world benefits on the road.
LEDs are the foundation. High-efficiency diodes convert electrical power into bright light with far less heat wasted than halogen sources. This efficiency produces several direct advantages. First, lumen output per watt is higher, creating brighter illumination with lower current draw. Second, LEDs have a much longer operational life. Compared with halogen bulbs, LEDs last for thousands more hours, reducing replacement frequency. Third, their compact emitters allow designers to shape light output precisely. In projector housings, small LED arrays sit very close to the lens focal point. That proximity enables a clean, sharp cutoff and a focused hotspot that improves forward visibility without glaring oncoming traffic.
Projector optics are the next critical piece. Unlike open reflector assemblies, projector setups use a lens and internal shield to sculpt the beam. The result is a sharp horizontal cutoff line and a dense center beam. For drivers, this translates into clearer road detail at long range and less scatter into opposing lanes. Modern LED projectors paired with carefully designed reflectors also help maintain even beam intensity across the width of the lane. That evenness matters when driving on winding roads or in urban environments where peripheral illumination helps you spot hazards and pedestrians.
A notable styling element many owners seek is the halo or “demon eye” ring around the main projector. These rings function as daytime running lights in many setups, offering both style and function. During daylight, the ring increases vehicle conspicuity. At dusk and night, it frames the projector and adds a distinct identity to the EVO X front end. The halo ring’s LED modules often use a separate circuit, giving installers flexibility. They can wire the rings as DRLs, parking lights, or accent lighting with ignition-switched power. This separation keeps the main projector beam free of accessory wiring changes.
Integration with the vehicle’s electrical system is a major concern for many owners. The best aftermarket assemblies offer plug-and-play compatibility with the EVO X harness. That means they are built to match factory connector types and pinouts. Plug-and-play reduces installation time and lowers the chance of wiring errors. It also usually means no cutting or splicing is necessary. For vehicles equipped with body control modules that monitor lamp loads, compatibility prevents error codes or hyperblink. Despite this, some models may still need load resistors or a simple adapter to prevent warnings. Understanding whether your car has a load-sensing circuit helps you plan before purchase.
Sequential turn signals are another premium feature sometimes included in matching lighting packages. These signals light a short trail of LEDs in a directional sweep when the indicator is engaged. The animation provides a clear visual cue that is both modern and attention-grabbing. For drivers, sequential signaling increases the noticeability of lane change intentions. When paired with complementary rear sequential taillights, the whole car communicates motion intention with a contemporary rhythm. This cohesive design language elevates the vehicle’s presence on highways and in parking lots.
Electrical compatibility is straightforward. These assemblies are designed for standard 12-volt automotive systems. Their rated wattage and current draw are engineered to match typical vehicle circuits. That ensures normal operation without forcing alternator load limits. Many kits list total power consumption to help owners verify compatibility with other aftermarket accessories. Since LEDs have lower draw than halogens, overall electrical strain often decreases after installation. Reduced draw can be beneficial when multiple accessories run at once.
Color temperature options are a key decision factor. Most assemblies offer several Kelvin ratings, with 6000K being a popular choice. That color sits on the cool-white side, often with a mild blue tint. Cool-white output helps eyes perceive contrast at night, which can increase perceived clarity. However, colder tints may reflect differently on road signs and wet surfaces. Some owners prefer a slightly warmer 5000K option for more natural color rendering. Selecting the right color temperature balances style, legal considerations, and visual comfort.
Longevity and build quality deserve attention. LEDs themselves can last tens of thousands of hours when kept cool and dry. The limiting factors are often the housing, seals, and thermal management. High-quality assemblies use robust housings with effective heat sinks and active or passive cooling. Good seals prevent moisture intrusion and fogging that shorten component life. UV-resistant lenses and durable paint coatings maintain appearance over time. These practical considerations ensure that longevity in the lab translates into long-term reliability on the road.
Thermal management cannot be overlooked. While LEDs generate less heat than halogens, they still require cooling to operate optimally. Effective heat sinks and forced-air fans help extract heat from the LED base. Thermal pads or channels conduct heat away from the emitter into the housing. Poor thermal control causes lumen degradation over time and can lead to premature failure of driver electronics. Premium assemblies balance passive cooling with compact form factors so OEM-like fitment is preserved.
Beam pattern and aim are decisive for safety and compliance. A projector lens with a precise cutoff reduces glare for oncoming drivers. Proper installation includes adjustment screws to set the aim to factory specifications. Misaligned beams create hot spots and may obscure near-field details. Some assemblies incorporate leveling motors to adjust aim under load or with variable cargo weight. These features maintain consistent illumination patterns across driving conditions.
Housing design influences both look and function. Assemblies that match the EVO X’s front fascia provide a seamless OEM-plus appearance. Matte black inner housings can accentuate the halo and projector, while chrome interiors provide a brighter aesthetic. Some kits offer smoked or clear lens options for personalization. The overall fit and finish determine how well the assembly integrates with adjacent body panels and trim pieces. A snug fit reduces wind noise and prevents water intrusion.
Ease of installation matters to DIY enthusiasts. True plug-and-play assemblies come with instruction guides and the necessary mounting hardware. Step-by-step directions show how to remove factory units and plug in the new harnesses. When installations require slight trimming or bracket adjustments, clear instructions help avoid mistakes. Some kits include auxiliary relays or resistors when necessary. Including labeled connectors and quality fasteners makes the process smoother and minimizes return rates.
Electrical quirks can appear with modern vehicle electronics. Some EVO X models use lamp monitoring systems that detect resistance changes. Lower resistance from LEDs can trigger warning lights or fast-flash indicators. A straightforward solution is to use inline resistors or a load emulator harness. Another approach uses a CANbus-compatible driver that mimics the load characteristic of filament bulbs. Knowing the vehicle’s electronic behavior helps in choosing the right assembly and any needed extras.
Sealing and weather protection are practical details often overlooked. Assemblies with high ingress protection ratings keep moisture and dust out. Proper gaskets and venting channels allow for pressure equalization without letting water in. When housings vent, designers use hydrophobic membranes to block water while allowing airflow. This reduces condensation and maintains optical clarity. Reputable assemblies often include replacement gaskets and clear guidance for maintaining seals during long-term use.
Legal and safety considerations guide responsible upgrades. Local regulations sometimes limit beam tint, color, and brightness. Assemblies intended for road use often align with regional standards. Checking whether the product meets DOT or ECE requirements helps avoid issues during inspections or traffic stops. Some owners choose show-only assemblies for off-road use, but on-road legality should always be confirmed prior to installation.
Coordinating front and rear lighting creates a cohesive look. When front projector assemblies are paired with sequential rear lights, the car communicates its presence and intentions more clearly. Matching color temperatures on front and rear accents also produces a balanced visual identity. Owners aiming for a full aesthetic package benefit from selecting complementary modules that follow the same theme.
Durability and warranty policies matter. A robust limited warranty reduces buyer risk. Terms that cover moisture penetration, LED driver failure, and major defects create confidence. Investigating seller support and return policies is important, especially for international purchases. Shipping and packaging quality can influence whether components arrive undamaged.
Performance testing and real-world impressions often confirm manufacturer claims. On-road comparisons typically show improved long-range visibility and better lateral spread with projector LEDs versus halogen reflectors. Drivers report more consistent illumination on the road and fewer surprises in the periphery. The halo DRL adds daytime visibility, which some studies tie to reduced daytime collisions. Sequential signaling also increases noticeability during lane changes, according to informal driver feedback.
Integration with other upgrades should be planned. If an owner has aftermarket bumpers or bodywork, verifying headlight fitment is critical. Some kits work with a range of front fascia variations, while others are tuned for stock body panels. For vehicles with carbon fiber hoods or custom front end parts, a dry fit assessment helps avoid alignment problems. Owners doing larger visual overhauls should consider matching components for consistent gaps and finishes. For additional exterior upgrades that complement headlights, see this resource on related EVO X headlight options: lancer-evo-x-10-headlights.
Buying decisions hinge on balancing aesthetics, function, and fitment. Evaluate lumen ratings, beam pattern images, and installation guides. Check whether the kit includes harnesses and resistors. Review warranty length and seller feedback. Consider local laws governing light color and intensity. Confirm the model years supported, since slight variations in bumper and mounting points affect fit.
Finally, plan the installation and tuning process. Allow time to remove the factory units, compare mounting points, and dry-fit the new assemblies. Test electrical connections before final reassembly. Adjust aim on a flat, level surface at a standard distance from a wall. Recheck alignment after a short drive and make minor adjustments as needed. A careful setup ensures the headlights deliver improved visibility and a confident appearance for many miles.
For more product listings and purchasing options, you can view a selection of aftermarket headlight assemblies for the EVO X here: https://www.ebay.com/sch/i.html?_nkw=Vland+Headlights+for+Mitsubishi+Lancer+EVO+X
Fitting LED Headlights to an EVO X: Compatibility, Wiring and Practical Installation Strategies
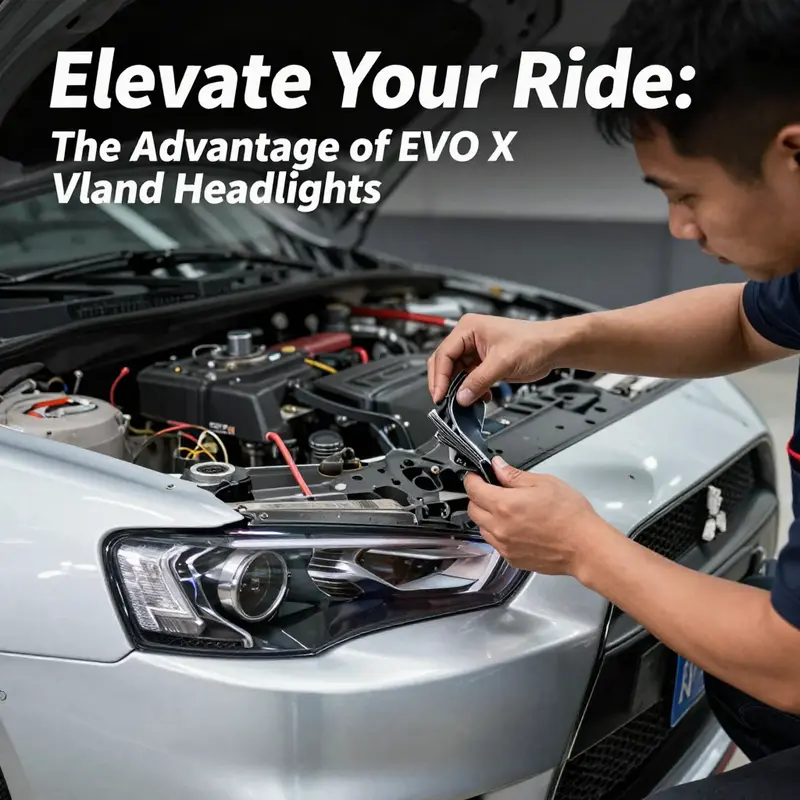
When you decide to upgrade the headlights on an EVO X, compatibility and installation become the central concerns. Aftermarket LED headlight assemblies designed for these cars aim to replicate a factory fit while delivering modern lighting performance. This chapter walks through the compatibility checklist, explains the practical installation process, and covers the wiring and troubleshooting steps you will likely face. It also highlights small but important details that determine whether the swap will be plug-and-play or need a short afternoon of adjustment.
Compatibility starts with the basics: model years and bulb type. The EVO X and its related Lancer variants from 2008 through 2020 share many front-end mounting points and electrical conventions. Many aftermarket LED headlamp assemblies targeting this platform are built as direct-fit replacements intended to accept the stock mounting locations and plug harnesses. They commonly use the D2H bulb standard for the main beam in vehicles originally equipped with HID systems. If your car came with factory HID units, an assembly that supports D2H bulbs matches the existing lamp housing and ballast arrangement. Knowing the exact bulb standard is the first step to avoid surprises on the lift.
Electrical compatibility matters as much as mechanical fit. These LED assemblies typically expect a 12-volt vehicle electrical system and draw a rated wattage near 55 watts per unit for the high-intensity modules. That wattage is consistent with a retrofit that preserves headlamp brightness but also requires attention to heat dissipation and power management. LEDs generate heat differently than halogens or HIDs, so manufacturers integrate heat sinks and cooling channels into their housings. During installation, confirm the harness connectors line up with the factory plugs. If they do, the swap often requires no splicing or rewiring. If not, a small adapter harness or a short run of quality automotive wire and connectors will bridge the difference with minimal fuss.
The physical fit tends to be straightforward on most examples of the EVO X era. Aftermarket housings are sculpted for factory-like appearance and should align with OEM mounting tabs. Still, minor variations between suppliers and model years can demand slight adjustments. When you remove the factory headlamp, keep track of all mounting screws, clips, and any foam pads used for vibration isolation. Preserve the factory bracket hardware in case you need to revert to the original units or use parts for alignment. A careful comparison between the old unit and the new assembly before tightening any fasteners prevents alignment headaches later.
A clear installation workflow limits mistakes. First, disconnect the battery for safety. Next, remove the front bumper if necessary to access the mounting bolts. Some model years allow the headlamps to be removed without removing the bumper; others require partial bumper removal to reach lower fasteners. Unplug the factory harness at the headlamp, noting any retainers and clips. Remove the headlamp using the appropriate socket or screwdriver, and gently free the unit from the fender and core support. Place the old lamp aside and prepare the replacement for installation.
Before fitting the new assembly, test it on a bench or with the vehicle battery reconnected temporarily. Activate low beams, high beams, turn signals, and daytime-running functions. Confirm the dynamic indicator feature operates as expected if the assembly includes it. Dynamic indicators use sequential LED circuits to create a flowing effect when signaling. They add aesthetic value, but they also impose specific wiring arrangements and load characteristics. If your car’s electronics monitor bulb load through the CAN system, a sequential indicator can trigger an error. In such cases, a resistive load or an electronic decoder is often required to simulate the original bulb’s electrical characteristics and prevent dashboard warnings.
During the test, observe the polarity and connector pinout. Some aftermarket units use common international pinouts, while others reverse certain pins. Correct connector orientation ensures the daytime running lights and indicators function consistently. If your harness does not match, use high-quality, heat-shrink-insulated butt connectors or solder joints covered by heat shrink. Avoid cheap splices that can corrode. Applying a small amount of dielectric grease to each terminal helps prevent moisture infiltration and preserves good conductivity.
Fit the headlamp into position and install but do not fully torque the mounting hardware. Leave enough flexibility to make alignment adjustments. Once both sides are provisionally installed, reconnect the battery and test everything again. Check beam pattern on a level surface, ideally with the car three to five meters from a flat wall. Many aftermarket housings arrive pre-aligned for a specific market, so slight vertical or horizontal shifts may be necessary. Correct aim is critical to avoid blinding oncoming drivers and to keep legal compliance. Most jurisdictions allow a limited adjustment range, and the factory adjustment screws on the EVO X permit precise vertical and lateral aim.
Thermal management and sealing deserve close attention. LED modules depend on effective heat sinks and sometimes active cooling, like small fans. Ensure any cooling fans have enough clearance and are pointed away from plastic trim that could be damaged. Check that the housing’s gasket seals tightly against the fender and bumper to prevent water ingress. Some assemblies include extra sealing tape or foam; supplement these with automotive-grade silicone if gaps remain. After a rain or wash, inspect the lens interior for condensation over several days. A single droplet usually indicates a minor pressure differential; persistent fogging suggests a seal failure that you should address immediately.
Another common issue relates to the car’s headlight leveling system and adaptive controls. Some EVO X models use automatic leveling motors and sensors. If the replacement assembly lacks the mechanical interface for the leveling motor, you may lose auto-leveling functionality. Retained motors can often be transferred from the old housings into the new ones if mounting points match. If not, factory manual adjustments can temporarily substitute, but you will not benefit from automatic corrections for varying loads in the vehicle. Consider your driving needs before deciding to forgo leveling. For cars with advanced driver-assistance systems that rely on headlamp status, confirm that no warning lights appear on the dash after the installation. Small adapters or CANbus decoders can prevent false error messages.
Legal considerations vary by region. Some aftermarket headlamp assemblies come with different beam cutoffs and reflector designs, suited to specific markets. If your state or country enforces strict requirements about beam pattern, lens marking, or the presence of daytime running lights, verify that the unit meets local standards before road use. In many cases, units intended for sale as vehicle-specific aftermarket parts meet common regulatory standards, but always confirm. Noncompliant lighting can result in failed inspections or fines.
Practical tips for a smooth swap: always test new assemblies outside the vehicle first; document the factory wiring with photos; label connectors using masking tape and a marker; protect painted surfaces with fender covers or cloths; and use proper torque values on mounting bolts. Small things like trimming a foam retainer or repositioning a washer reservoir hose can save a lot of time. When routing any new wiring, keep cables away from moving parts and heat sources. Secure wires with quality zip ties, but avoid overtightening them against plastic that could compress and chafe over time.
If the assembly includes dynamic indicators or sequential turn signals, pay close attention to the flasher cadence and the load detection logic. Modern cars sense bulb resistance to confirm function. LEDs draw far less current than incandescent bulbs. When the vehicle’s monitor detects low current, it assumes a blown bulb and may flash faster or show an error message. If you encounter this, adding a resistive load inline or installing a CANbus-compatible decoder will correct the signal. Resistive loads dissipate current as heat, so ensure they sit in a place where they can cool. Electronic decoders are a neater solution, reducing heat and maintaining lighter power efficiency while emulating the required electrical signature.
A few installation pitfalls come up repeatedly. First, assuming every EVO X from 2008 to 2020 shares identical plug-and-play compatibility. While many parts are interchangeable, small revisions to wiring harnesses and bumper designs within that span can require minor adaptors. Second, rushing the alignment process. Improperly aimed headlights are dangerous. Take the time to fine tune both horizontal and vertical aim. Third, bypassing manufacturer instructions. The supplied installation manual includes critical torque figures, connector orientations, and notes about sealing. Even if a unit fits without thought, the manual often clarifies adjustments for compensating for aftermarket variations.
After installation, plan a short road test during low light. Check that the beams do not flicker, that the dynamic indicators present a consistent sequence, and that the headlamps maintain brightness without overheating. Monitor for unusual smells indicating overheating or melting plastic. Recheck mounting bolt tightness after a few hundred miles. Thermal cycling and vibration can loosen fasteners. If you moved any leveling motors, verify the factory automatic leveling sensor reads within expected ranges. If the vehicle displays a headlight warning, investigate the wiring and any required decoders. Modern vehicles protect against short circuits and abnormal loads; a warning often points to an unresolved electrical mismatch rather than a mechanical fault.
For long-term reliability, protect connectors with dielectric grease and weatherproof covers. If you added resistors, mount them on metal brackets away from suspension components. If the housing uses fans, inspect them periodically and clear any collected debris. When washing the vehicle, avoid pressure-washing the lens seams directly. A gentle spray suffices. Finally, if you plan other exterior upgrades, remember that headlights interact visually with bumpers, hoods, and fenders. If you later install a different front bumper or a carbon fiber hood, recheck headlight fitment. Some aftermarket body parts change the way the headlamp sits relative to the bumper, which affects aim and aesthetics. For parts and styling that complement the headlight look, consider compatible bumper and hood pieces designed for the EVO X body style.
Replacing the front lighting on an EVO X can transform both function and form. With attention to bulb compatibility, electrical behavior, sealing, and alignment, most installations become straightforward. Approach the job with careful testing, keep spare hardware, and plan for small adjustments. If a wiring adapter or decoder is needed, the parts are readily available and simple to integrate. Whether your goal is improved night visibility, a refreshed aesthetic, or sequential indicators for a modern look, a properly executed headlight installation preserves the car’s reliability and roadworthiness.
For guidance on parts and fitment specific to the EVO X headlight conversions, consult the dedicated resource linked here: Lancer Evo X headlights.
For further information on the specific aftermarket headlight assembly referenced in this chapter, see the product page: https://www.amazon.com/dp/B09XJQY6RZ
Navigating the Marketplace: Choosing EVO X Aftermarket Headlight Options
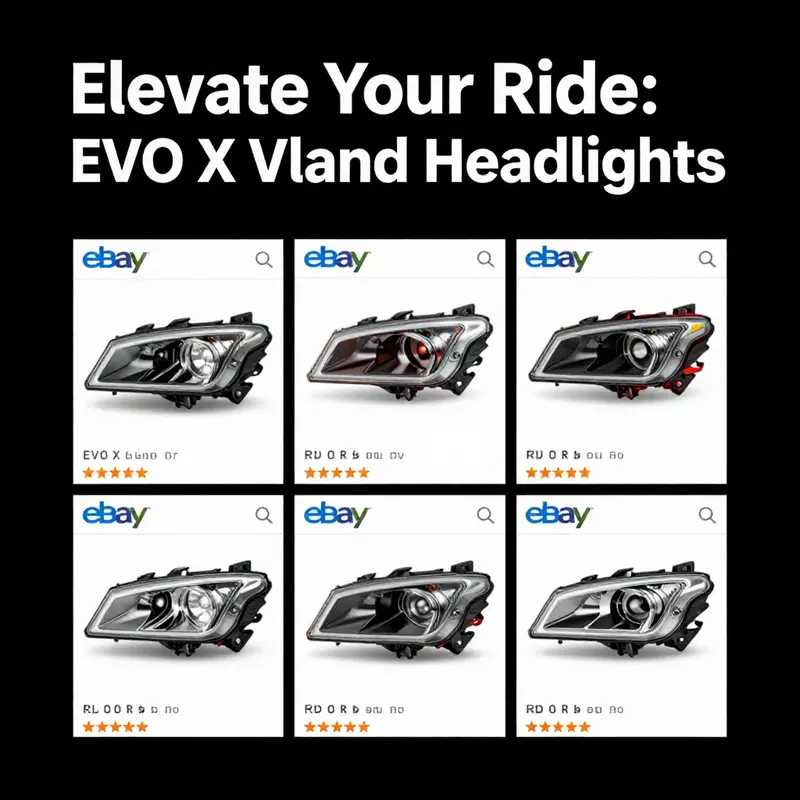
A focused look at the choices, trade-offs, and buying strategies for EVO X aftermarket headlights on major online marketplaces.
The market for aftermarket headlights tailored to the Mitsubishi Lancer EVO X has matured. Enthusiasts now find many options designed to improve style, light output, or both. Online marketplaces list assemblies that vary by design, functionality, and price. Understanding those differences keeps a purchase from becoming a costly compromise.
When shopping, the first decision is whether to replace like for like, or to upgrade to a different technology. Traditional halogen assemblies mimic factory performance. LED and projector-based assemblies promise improved beam control and a modern look. Projector headlights provide a sharper cutoff and can focus light where it’s needed. LED assemblies run cooler and draw less current, while some LED designs require active cooling. Each technology affects installation, warranty, and legal compliance differently. Knowing how these differences show up in listings helps separate solid options from risky ones.
Listings on large marketplaces commonly describe assemblies as “plug & play.” This term signals that minimal wiring changes are required. Plug & play options use the stock connectors and mounting points. They reduce installation time and lower the chance of compatibility issues. Yet plug & play claims deserve verification. Read item descriptions carefully. Check photos for harness adapters and confirm whether bulbs are included. Examine seller notes on model years covered and whether the assembly fits all trims. A seemingly simple claim can hide required modifications or omitted parts.
Another frequent listing style bundles multiple parts into a single purchase. Complete sets may include both headlights and tail lights. These packages often contain bulbs, projectors, and trim pieces. Bundles can be attractive because they present a coordinated look. They may also include small discounts versus buying pieces separately. But bundling limits flexibility. If one headlight suffers damage later, sourcing a single matching unit can be harder. Confirm whether complete sets are sold as a matched pair or as individually packaged units.
Design features draw many buyers. Some assemblies include distinctive accents such as halo rings, daytime running lights, or colored “demon eye” inserts. These elements change the car’s character. Halo rings and DRLs improve visibility during the day and add a modern signature at night. Colored accents enhance show-car appeal but can create legal issues in some regions. Prioritize forms of lighting that meet local road regulations and can be disabled if necessary. Detailed photos in listings often reveal how well these features are integrated into the housing. Poor integration can lead to moisture intrusion or rapid LED failure.
Price ranges for aftermarket headlights vary widely. Some kits appear at aggressive price points while others carry premium tags. Lower-priced listings may offer a full set around several hundred dollars. Higher prices reflect better materials, more complete bundles, or known brand reputations. Shipping and customs fees add to the final cost. Sellers often advertise free shipping to stand out. Free shipping can be genuine savings or a marketing tactic that masks higher unit prices. Compare full landed costs across listings, not just the headline price.
The option to purchase new or used parts is common. Used assemblies serve as affordable replacements for damaged factory units. They also appeal to restorers seeking original finishes. However, used items can show wear, cracked lenses, or tired seals that invite condensation. Carefully inspect listing photos and ask sellers for additional images if necessary. For new aftermarket units, demand and stock levels fluctuate. Popular models sometimes show as sold out. A high count of units sold can signal reliable demand and quicker restocking, but it does not guarantee quality. Review post-purchase feedback and seller rating when evaluating high-velocity listings.
Compatibility across model years matters. The EVO X spanned multiple production years and saw minor trim updates. Some headlight assemblies are listed as compatible with the full model span, often citing specific years. Check the listing for fitment notes about version differences. Differences may affect mounting tabs, bumper interaction, or fog light integration. When in doubt, compare part images with your vehicle. Confirm that turn-signal lenses, washer jet cutouts, and mounting points align with your car’s configuration.
Installation complexity varies. Truly plug & play units simplify the process to a bolt-on swap. However, some assemblies require splicing wires or adding resistors to prevent error codes. Modern cars use redundant checks to monitor bulb circuits. Aftermarket LEDs can trigger dashboard warnings if the car thinks a bulb is out. Many sellers hint at these issues in listings. Look for mentions of CANBUS compatibility or included resistors. If the listing lacks details, assume additional parts may be necessary.
Lighting performance is a critical consideration. Projector housings can concentrate light to a tighter beam pattern. That effect improves usable illumination without blinding other drivers. Reflector housings spread light more broadly but can cause glare when paired with high-output bulbs. Look for beam pattern photos taken from a consistent distance. Real-world images taken at night usually tell more than manufacturer diagrams. Compare the color temperature specified by the seller. Cooler temperatures produce a whiter look, while warmer tones can deliver better contrast in fog. Remember: extreme color temperatures may reduce perceived brightness.
Durability and sealing are central to long-term satisfaction. Cheaper housings sometimes show inferior seals that allow moisture ingress. Condensation inside the assembly reduces light output and invites corrosion. Sellers should list information on IP ratings or describe internal desiccant packs. If a listing lacks such details, ask the seller about moisture protection and lens material. Polycarbonate lenses are common. They resist impact but scratch more easily than glass. Consider whether the assembly includes protective coatings to protect against UV yellowing.
A practical concern is return policy and warranty. Reputable sellers often support returns within a set period. Warranties vary by seller and manufacturer. A limited warranty that covers defects in materials and workmanship is preferable. Many marketplaces provide buyer protection programs that act as a safety net. However, buyer protection has time limits and rules. If the seller lacks a clear warranty, factor that risk into your purchase decision. Keep records of communication and photo evidence if you receive a defective part.
Seller reputation matters as much as the item. High-volume sellers may offer quick shipping and multiple fulfillment channels. Smaller sellers might offer more communication and a willingness to answer fitment questions. Review recent feedback for comments about shipping times, item condition, and accuracy of descriptions. Negative patterns in reviews matter: repeated complaints about fitment or quality are red flags. Likewise, reviews that only praise shipping speed but say little about product longevity are incomplete. Prioritize listings with detailed descriptions, clear photos, and responsive sellers.
Custom styling choices require careful thought. Features such as smoked lenses, blacked-out housings, or colored inner reflectors change the car’s look dramatically. They can make a vehicle appear more aggressive. But these choices can reduce light output. Smoked lenses and dark finishes absorb and scatter light, reducing beam intensity. If night-time driving is frequent, favor finishes that preserve output.
Technical details in listings help answer functional questions. Check specifications for voltage and wattage. Most aftermarket assemblies operate on standard 12 volts. Power ratings indicate how much current the assembly will draw. Excessive wattage can overburden stock wiring if the installation requires additional bulbs or resistors. Some listings include details about cooling methods for LED modules. Passive cooling relies on thermal paths within the housing. Active cooling uses fans. Fans add moving parts that can fail, but they keep LED junction temperatures lower and prolong life.
Fitment parts and mounting hardware inclusion are essential. Some assemblies arrive with all mounting bolts, but others expect you to reuse hardware. Verify whether the item includes gaskets, clips, or trim pieces. Missing small parts can delay installation or require additional trips to a parts store. For complete sets, ensure the package lists separate left and right components to avoid surprises.
Addressing electrical concerns before purchase saves headaches. If your car uses bulb monitoring, aftermarket LEDs can trigger errors. Listings that mention resistors or plug adapters reduce the need for guesswork. If the seller provides wiring diagrams or guides, that is a positive sign. Also think of headlight leveling systems. Some cars use automatic levelers that interact with headlight assemblies. Make sure the aftermarket housing supports these systems when your car has them.
When evaluating a listing, request additional night-time photos if necessary. Ask the seller to demonstrate beam cutoff, glare behavior, and how the lights aim. Sellers who respond with clear, well-lit photos and videos usually offer better customer service after purchase. Avoid listings that refuse to provide supplementary images or that offer only rendered visuals.
Local regulations shape what you can legally run on the road. Some aftermarket assemblies are marked as off-road use only. Others claim compliance with DOT or ECE standards. Confirm the legal status before mounting them on a vehicle used on public roads. When in doubt, check local vehicle codes or consult a qualified shop.
Finally, calculate the total cost and value. Evaluate purchase price, shipping, potential customs fees, and any required adaptation parts. Include the cost of professional installation if you prefer not to DIY. Balance aesthetic gains against functional improvements. A headlight that looks superb but dims the road ahead is a poor trade. Set priorities: do you want improved visibility, a modern look, or both? Identify listings that meet those priorities and then narrow by seller reliability and warranty terms.
For additional reference on compatible designs and aftermarket styling for the EVO X platform, see the detailed guide on “Headlights for Lancer EVO X (Audi design).” You can review part-fit notes and visual comparisons there.
For a direct example of a commonly referenced marketplace listing that illustrates the features discussed, visit the external product listing here: https://www.ebay.com/itm/VLAND-LED-Projector-Headlights-For-Mitsubishi-Lancer-EVO-X-2008-2017-Plug-Play/.
Final thoughts
By integrating EVO X Vland headlights into your product lineup, you can meet the demand for both aesthetics and safety enhancements that modern consumers expect. The headlights’ advanced features, ease of installation, and the competitive market landscape present ample opportunity for business growth. Stay ahead by offering quality aftermarket parts that elevate vehicle performance and owner satisfaction.