
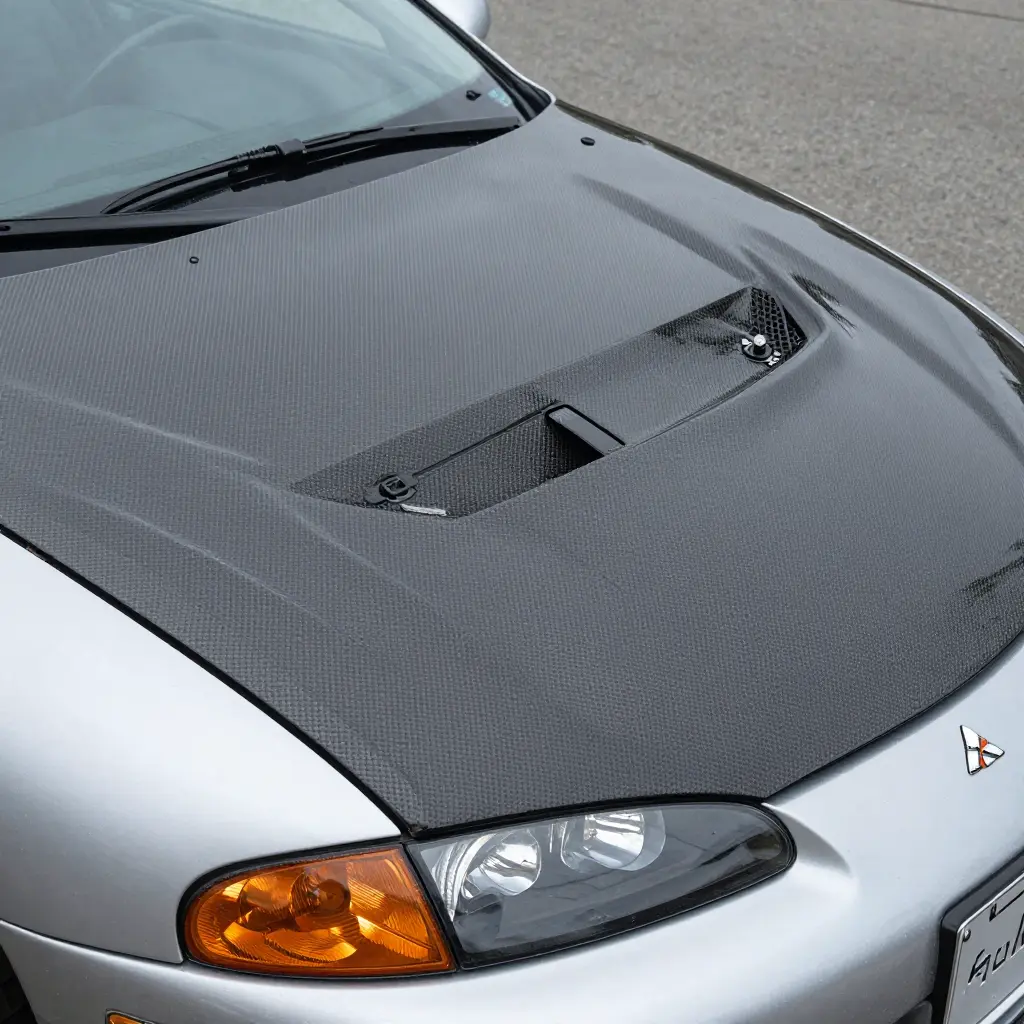
2006-2012 Mitsubishi Eclipse Monster GT Carbon Hood: Two Fitment Problems That Appear After a Front-End Repair
The 2006-2012 Mitsubishi Eclipse Monster GT carbon hood is a common weight-saving, looks-first upgrade for the fourth-generation Eclipse. It also brings two fitment problems that turn up almost any time the front end has been repaired. First, hood latch reach: the aftermarket latch striker sits at a slightly different height and depth than the factory steel hood, so the latch grabs too early, too late, or not at all. Second, water pooling in the scoop, because the open Monster GT inlet collects rain and wash water with nowhere to go. This is the same part many owners order as the 2006-2012 Mitsubishi Eclipse Monster GT-style carbon fiber hood.
If you are an Eclipse owner, tuner, collision technician or DIY mechanic finishing a front-end repair or a hood swap, the sequence below walks through carbon hood installation on the 2006-2012 Eclipse, how to measure and adjust hood latch reach, and how to open a drain path so the scoop sheds water instead of holding it. The goal is a latch that engages securely with correct panel gaps, and a scoop that drains.
Monster GT Carbon Hood vs OEM Hood: Fitment and Function
A Monster GT-style carbon hood looks like a straight swap for the factory Eclipse hood. Bolt it on, though, and the differences in construction, tolerances and scoop geometry show up quickly.
Lightweight Composite Construction
The factory hood is stamped steel, typically around 25 to 30 pounds with a consistent formed shape. A carbon fiber hood is laid up from carbon cloth and epoxy resin, usually vacuum-bagged or autoclaved. That drops the weight to roughly 10 to 15 pounds, but it also produces a stiffer, more brittle shell with a thinner cross-section. Thin panels leave less material to hide small surface and mounting variations.
Latch and Hinge Mounting Tolerances
OEM hinges and latch plates assume generous slotted holes and predictable panel gaps. Carbon hoods often arrive with smaller, rougher mounting holes, so the panel can sit low, high or offset. Getting it right means shimming the hinges, elongating holes and adjusting striker height until the hood lines up with the fenders and front bumper.
Raised Scoop Geometry, Airflow, and Drainage
The raised scoop changes airflow over the panel, but the bigger issue is where the water ends up. The factory hood sheds water off a mostly flat surface; the scoop forms a basin that catches rain. Drainage paths that exist under the OEM hood do not carry over, so pooling becomes a real concern after a front-end repair that disturbed seals or trim.
Panel Thickness, Flex, and Latch Striker Position
Thin carbon panels flex under hood pressure and air load, which moves the striker relative to the latch body compared with the steel hood. Engagement changes, and the latch can end up loose or rattling. Adjusting striker depth and hinge height brings it back. The exact part is here for reference: Monster GT style carbon fiber hood.
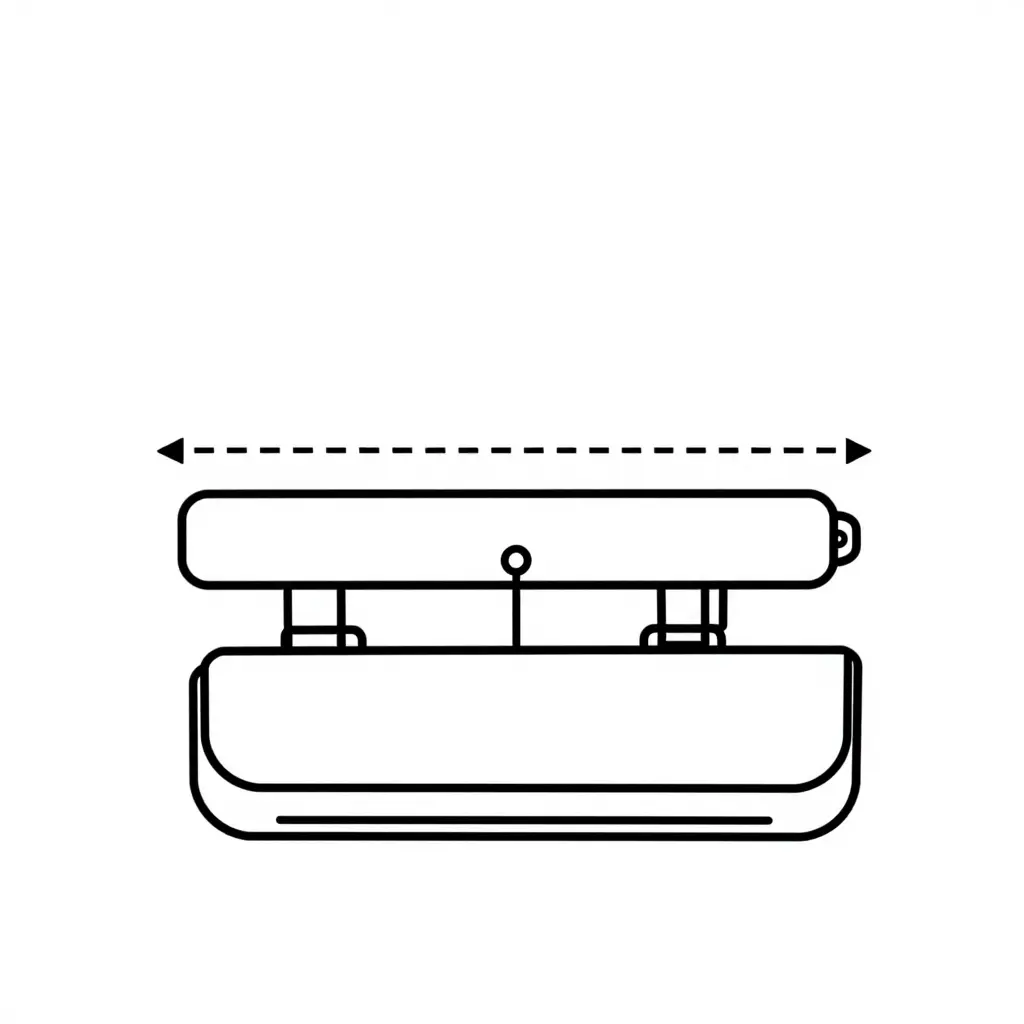
Reading the Hood Latch Reach Diagram
Before chasing the water pooling in the Monster GT scoop, it is worth understanding the geometry that ties the whole front end together. The schematic above shows the hood latch reach – the measured gap between the striker bar mounted to the hood and the latch body bolted to the radiator support.
What the diagram shows
- Latch body – the fixed assembly at the front center of the support, shown as the rectangular block.
- Striker bar – the horizontal bar mounted to the underside of the carbon hood, shown floating above the latch.
- Hinges – the two rear pivot points that set the hood’s baseline angle.
- Reach distance – the dashed measuring line between the striker and the latch contact point.
- Origin point and adjustment arrow – the circle marks where the striker sits at rest, and the short arrow shows the direction it shifts during adjustment, which changes the contact point.
When reach is off after a front-end repair, the hood sits high or low at the front, which changes the scoop’s angle to the airflow and can trap water instead of draining it. Threading the striker up or down a few millimeters often fixes a latch that refuses to catch cleanly.
If the repair left you hunting for a properly shaped hood to work from, start with a panel built for the chassis, such as this 2006-2012 Mitsubishi Eclipse Monster GT style carbon fiber hood.
Diagnosing Hood Latch Reach on a 2006-2012 Eclipse with a Monster GT Carbon Hood
When a Monster GT carbon hood refuses to lock down after a front-end repair, the culprit is usually hood latch reach, not a failed latch. The striker post and the latch body have to meet at a specific depth for the jaws to close and the secondary safety catch to sit tight. Get that distance wrong and the hood will not fully engage, no matter how hard you press.
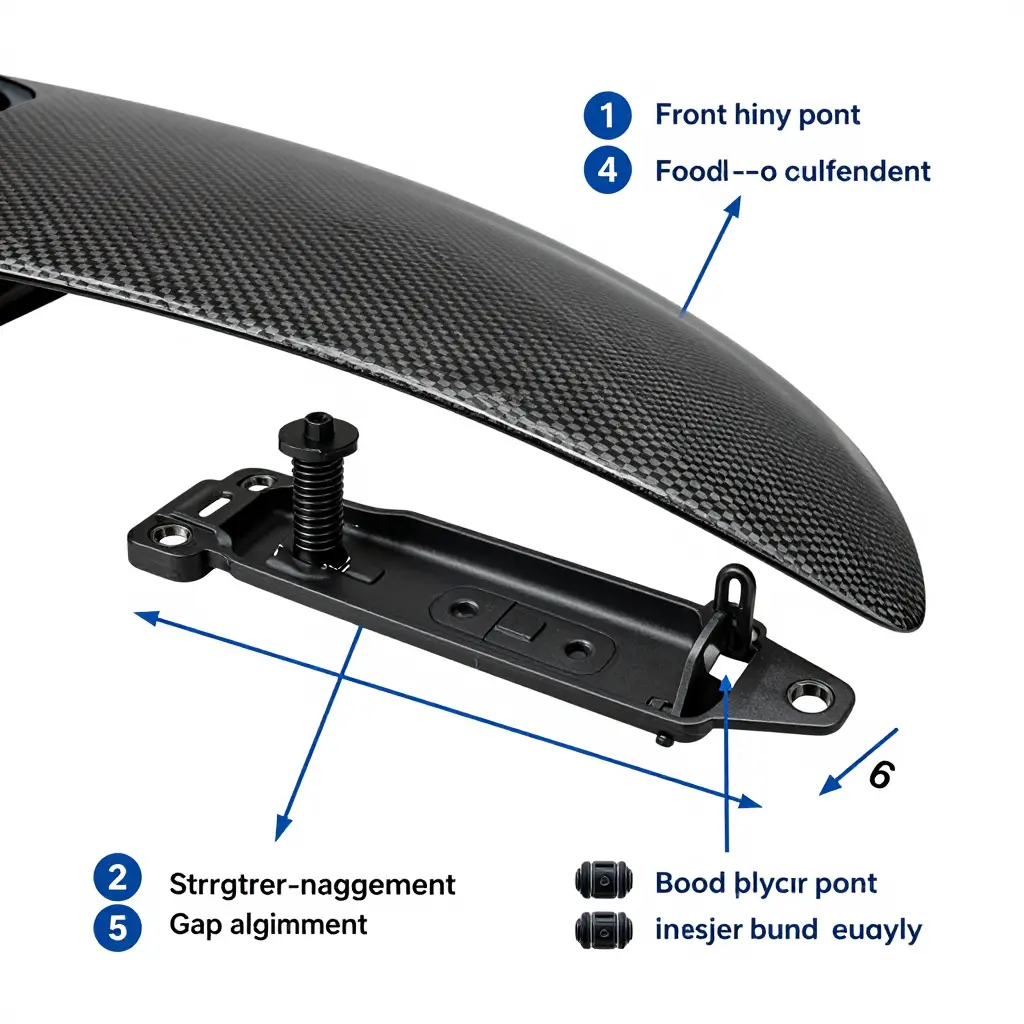
The symptoms are easy to read. The hood will not fully latch and pops back up. It sits high at the front edge even when you push it down. The latch hits but does not hold, so it releases with light pressure. Or the safety catch stays loose and rattles instead of snapping over the striker hook.
Start with striker engagement depth. Coat the striker with grease or marker, close the hood, and read the witness mark. A shallow mark means the striker is not reaching the jaws; a deep mark means it is bottoming out before the latch closes.
Then work through these checks in order:
- Measure striker engagement depth using the grease witness mark.
- Inspect hinge alignment relative to the fenders for uneven gaps.
- Verify the repair did not shift the radiator support or latch mount.
- Confirm the hood rests evenly on both rubber bump stops.
Because carbon hood fitment shifts easily after panel work, adjust the striker and hinges together until the hood drops cleanly onto both stops. Replace worn latch hardware before chasing further adjustments.
The table below lists the striker-to-latch reach to expect from each hood setup on a 2006-2012 Mitsubishi Eclipse after front-end repair, along with the fix and the tell-tale symptom that flags a bad adjustment. Handy when you are dialing in a Monster GT-style carbon fiber hood.
| Hood Type | Typical Striker-to-Latch Reach | Adjustment Method | Common Symptom |
|---|---|---|---|
| OEM hood | 2-4 mm working gap, striker centered in jaws | Factory striker position; minor hinge shim only | Latch engages with light effort; slight high/low at cowl |
| Monster GT carbon hood (incorrectly installed) | 8-15 mm too short (or 5-10 mm too long) | None applied – hinges and striker left in OEM position | Hood will not latch, pops open at speed, or needs hard slamming |
| Monster GT carbon hood (properly adjusted) | 2-4 mm working gap, striker re-centered | Slot striker in latch, shim hinges, set rubber stops and side bumpers | Consistent latch, flush panel gaps, easy two-stage close |
Read the reach column as the working gap between the striker tip and the latch jaws. Values above the OEM 2-4 mm band mean the striker sits too short, so raise or push it toward the latch; negatives mean it sits too long, so drop or pull it back. Anything outside the OEM range is a sign that the hinges, not just the striker, need shimming before you close the hood.
The chart below compares estimated relative water accumulation inside the Monster GT hood scoop across four drainage states. Higher bars mean more retained water. All values are illustrative and only show the relative relationship between drainage condition and pooling.
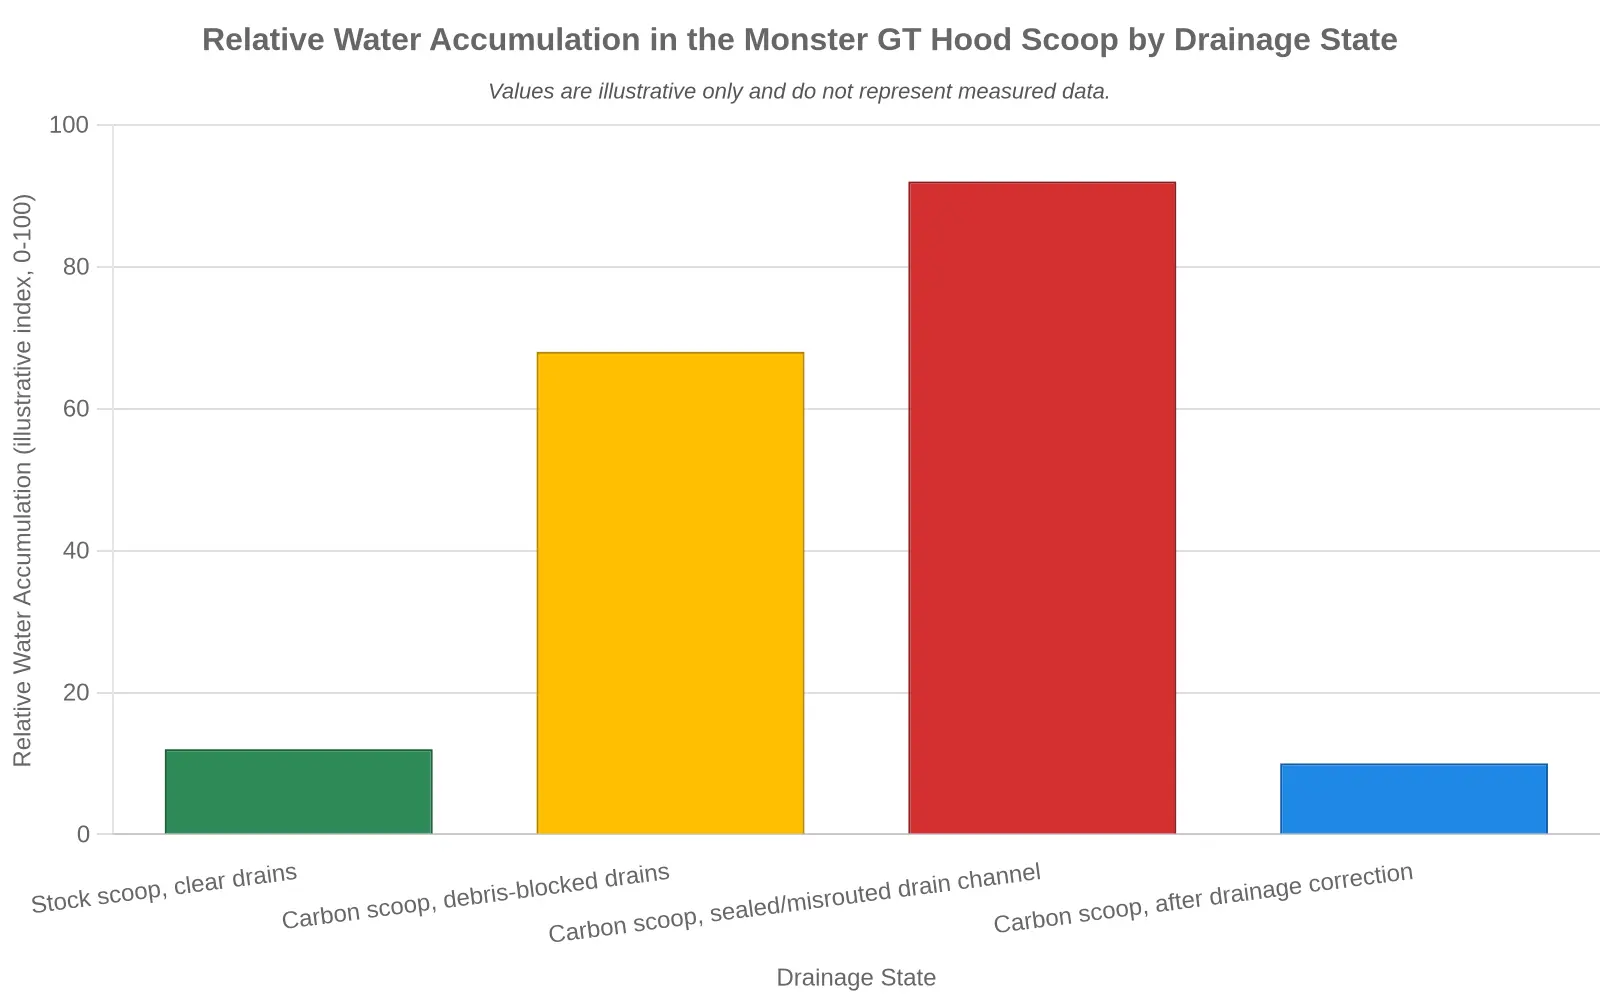
Why Water Pools in the Scoop
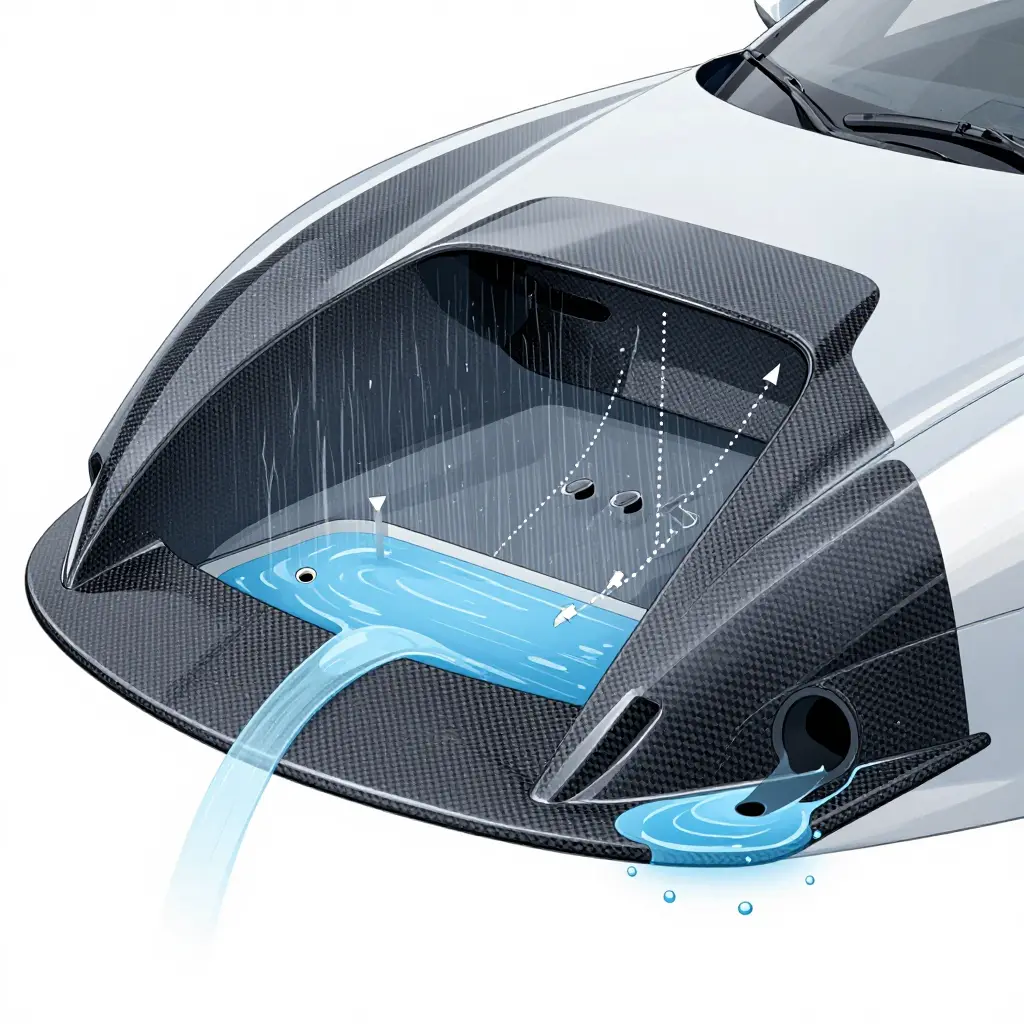
The Monster GT carbon hood uses a functional scoop, not just a styling cue. Its mouth faces forward and upward to feed cool air into the engine bay, which means it also captures rain and wash water during every storm and every trip through a car wash. Water enters faster than it can escape, and once it is inside the cavity it settles at the lowest point of the scoop floor. That is where water pooling in the scoop begins.
On a factory steel hood, the stamped panel gives captured water a defined channel and exit. Many aftermarket composite hoods seal or leave out that path, so the scoop floor has no matching outlet. Even when a drain hole exists, it is often undersized or partly closed by the resin finish. With no reliable exit, carbon fiber hood drainage depends entirely on the scoop geometry, and a flat floor simply holds the water.
The scoop also sits below the surrounding hood surface, so it is a natural low point. Gravity pulls each drop toward the back of the cavity, where it has the least chance to spill out. A front-end repair makes this worse. If the shop resets the hood angle or shifts the hinges, the scoop tilts closer to level, the drain outlet no longer lines up with the lowest corner, and water sits against the inside wall instead of flowing out.
Standing water has clear consequences. Trapped moisture keeps the cavity damp for days, which corrodes the adjacent latch, hinge and mounting bolts. It also adds constant weight to a lightweight panel that was never designed to carry it, stressing the latch and hinge hardware over time.
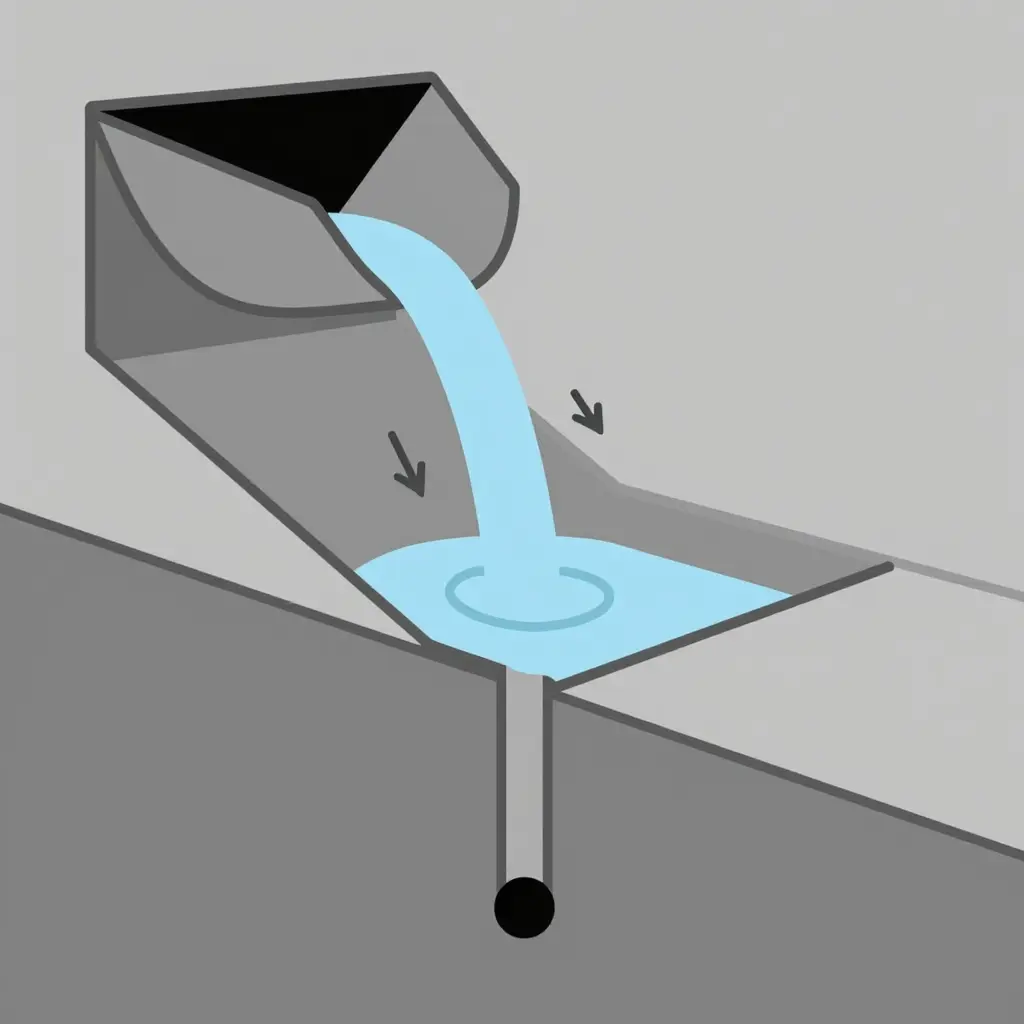
This schematic traces the path water takes through a Monster GT style carbon hood scoop. Flow enters at the scoop opening, runs down the scoop floor, and gathers in the low-point collection basin where pooling occurs whenever the drain is blocked. From there, the arrows follow the drain channel down and out through the exit below the hood panel. Read it as a road map for drainage: if any arrow stops moving, water is backing up at the low point – the first place to check after a front end repair.
Solutions for Water Pooling in the Scoop
If the scoop pools water after a front-end repair, the drain path is almost always the cause, not the hood. Work through these fixes one at a time, testing each with a slow pour of water.
1. Clear and enlarge the drain channel
Flush the scoop channel and blow out debris, cured resin, or overspray with compressed air. If the channel is shallow, widen it slightly with a rotary tool so water keeps moving instead of stalling. A clear channel empties the scoop within seconds of the pour.
2. Confirm the drain outlet exits below the hood line
Look at the outlet from underneath. It must sit lower than the scoop floor and be clear of seam sealer, panel adhesive, or paint left behind by the collision work. When it does, gravity takes over and water drains out instead of backflowing into the scoop.
3. Add a small drainage hole at the scoop low point
If the design allows a safe spot away from structural ribs, drill a 4-5 mm hole at the lowest point of the scoop. That gives any residual water an escape route instead of letting it collect and sit against the panel.
4. Seal the scoop sides without sealing the drain path
Seal open scoop edges with urethane or silicone, but keep the drain clear of sealant. Water stops seeping into the engine bay while drainage stays fully functional.
5. Check hood panel angle after the repair
Close the hood and confirm the scoop still tilts toward the outlet. Adjust the latch or hinge shims if the panel sits flat. Water should flow toward the outlet rather than resting on a level surface.
| Fix | What it solves | Expected result |
|---|---|---|
| Clear/enlarge channel | Blocked or shallow path | Water empties in seconds |
| Verify outlet height | Outlet above hood line | Gravity-driven drainage |
| Add low-point hole | Residual standing water | No trapped moisture |
| Seal scoop sides | Leakage into bay | Clean, sealed edges |
| Recheck panel angle | Flat hood after repair | Flow toward outlet |
For a reference point on good layout, look at how an Evo X carbon fiber bonnet hood routes water cleanly away from the engine bay. Good carbon fiber hood drainage comes from design discipline, not luck, so match that approach on your Monster GT panel.
Keeping the hood latch reach correct and the scoop draining freely on a 2006-2012 Eclipse fitted with a Monster GT carbon fiber hood comes down to a short set of repeatable checks. Run them at every oil change and again after any front-end work.
- Periodically verify latch engagement. Close the hood and confirm it catches on the first drop with one firm click, then pull the cabin release to make sure the secondary catch disengages cleanly. A carbon panel flexes differently than steel, so the striker-to-latch gap drifts over time.
- Clean the scoop drain channels. Flush the underside channels and weep holes with low-pressure water, then clear out leaf litter, wax residue, and dust that block the path to the drains.
- Inspect hinge and striker hardware for looseness. Check the hinge bolts and striker screws with a torque wrench at the factory spec, since vibration through a light carbon hood tends to work fasteners loose.
- Check bump stop height. Adjust the rubber bump stops so the hood sits level with the fenders and the corners do not flutter at speed. Too much preload strains the latch; too little lets the panel bounce.
- Review drain outlets after any collision or body repair. After panel replacement, re-align the hood, confirm the drains still exit below the scoop, and road-test in the rain to be sure water no longer pools.
A few minutes at each service interval keeps the latch secure, the drains open, and the hood in good shape for years.
Frequently Asked Questions
Why won’t the hood latch after a front-end repair?
The usual cause is panel misalignment: after a repair, a new or replacement hood often sits slightly higher, lower, or more forward than the original, so the striker misses the latch. The 2006-2012 Mitsubishi Eclipse Monster GT carbon hood also has a different panel thickness and curve than the OEM steel hood, so the striker rarely lines up on the first try. Re-center the latch, check striker height, and set the hood latch reach before assuming the latch is faulty.
How much hood latch reach adjustment is typically needed?
Most installs need only a few millimeters, usually 2 to 5 mm of vertical striker movement, though a badly aligned repair can demand up to 10 mm. Adjust in small increments and test the latch after each change until the hood closes with a firm, even click. If you run out of travel, the striker or the latch assembly itself may need repositioning rather than further adjustment.
Is water pooling in the scoop normal?
Some standing water in a functional scoop is normal, especially after rain or a wash, because the forward-facing opening traps water at low speed. What matters is that the water drains within a reasonable time instead of sitting for days. If it lingers, clear the drain channels or confirm the scoop has an unobstructed path for runoff.
Can I drill a drain hole into a carbon hood?
Yes, but work carefully, because carbon fiber can chip or crack if you rush the cut. Use a sharp bit, start with a pilot hole, and seal the exposed edge with clear resin or touch-up to keep moisture from creeping into the weave. Keep the hole small and position it away from structural ribs.
Does the carbon hood require different bump stops than the OEM hood?
Often yes, because the 2006-2012 Mitsubishi Eclipse Monster GT carbon hood is lighter and stiffer than the steel OEM hood, so the factory bump stops may sit too tall or too soft. Adjustable bump stops let you dial in the correct height so the hood sits flush and does not flutter at speed. In many cases you can reuse the OEM bump stops but need to lower them.