
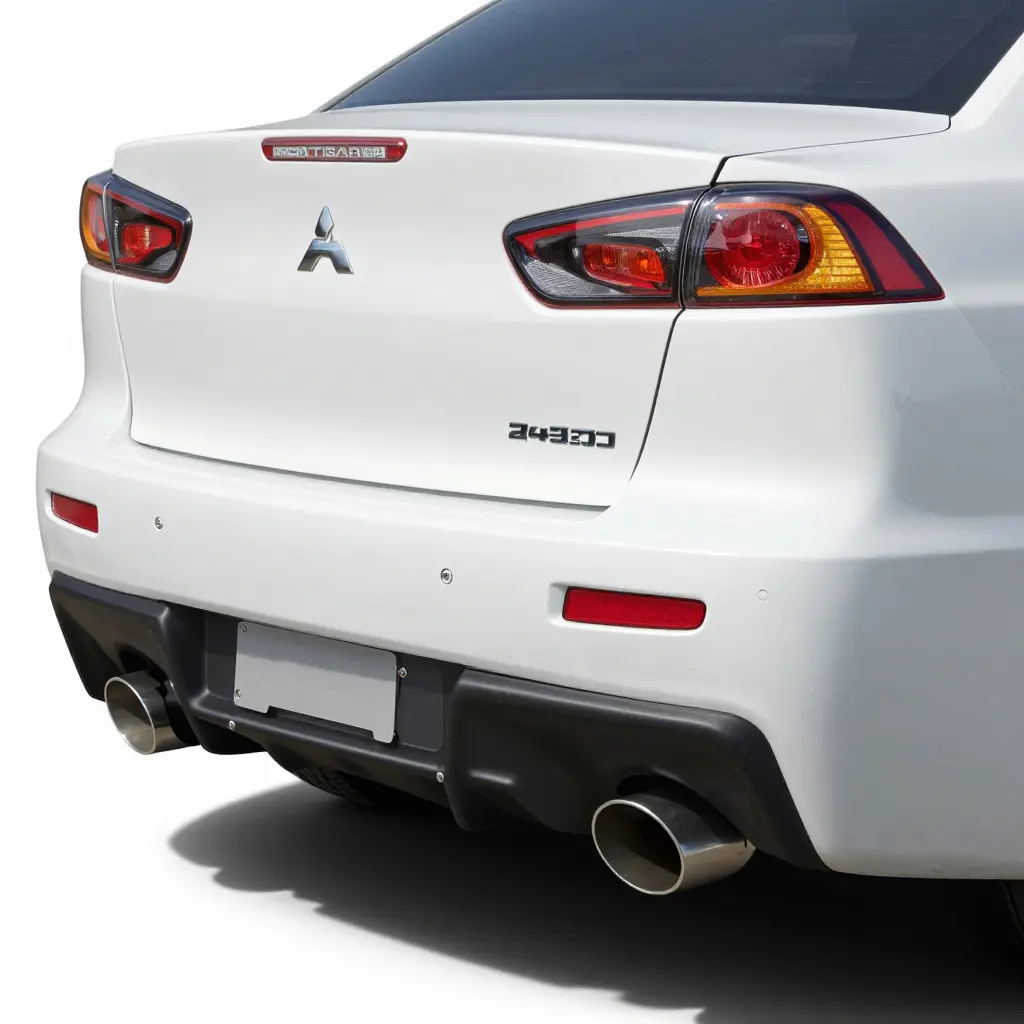
Why the Crash Beam Bracket, Not the Bumper Cover, Decides Rear Bumper Fitment on the 2008-2015 Mitsubishi Lancer Evo X
Rear bumper alignment on the 2008-2015 Mitsubishi Lancer Evo X comes down to the crash beam bracket, not the plastic cover. Owners who replace a sagging or unevenly gapped cover usually find the same gaps back a week after the new one is bolted on, because the cover does not set its own position. It follows the structure it mounts to.
Four terms come up whenever this problem is discussed. The crash beam, also called the reinforcement bar, is the structural impact member mounted behind the cover. The crash beam bracket is the metal interface that joins that beam to the vehicle body. The bumper cover is the painted plastic shell you actually see. Panel gap is the measured clearance between the cover and the panels beside it, and fitment is how accurately the whole assembly lines up with factory geometry.
The rest of this guide covers how to inspect the bracket, where it fails, and the order to install and torque it. Genuine Evo X rear bumper assemblies are specified as a set, so you can see how the cover, beam, and bracket are meant to work together.
The same rear structure applies across the 2008-2015 range, including the GSR, MR, SE, and Final Edition. Those trims differ in drivetrain and equipment, but the rear bracket geometry is shared, so the procedure below applies to all of them.
Why the Crash Beam Bracket Controls Fitment
The rear cover on an Evo X is a thin plastic shell with no structure of its own. It takes the shape of whatever it is bolted to, and that is the crash beam bracket. The bracket is what actually determines where the cover lands. This is worth understanding before buying a replacement cover, because a correctly molded part will still sit wrong on a car whose bracket is bent.
The Bracket Establishes the Datum Points
Fitment starts with datum points, the fixed reference locations that define where a part is supposed to sit. On the Evo X rear end, the crash beam brackets bolt to the chassis and carry the crash beam behind the rear fascia. Those brackets set the height, width, and offset that every downstream component inherits.
- The chassis supplies the anchor points.
- The brackets turn those anchors into a specific height, width, and offset.
- The cover conforms to whatever the brackets present.
Bend a bracket, push it inward, or mount it at the wrong offset, and the datum moves. Everything attached to it moves too, and no cover, however well made, can correct a reference that is already wrong.
How Bracket Tolerance Propagates Into Visible Problems
Small bracket errors do not stay small. They multiply across the rear panel geometry.
- Panel gap: An offset of even a few millimeters shifts the cover relative to both quarter panels, widening the gaps unevenly.
- Clip positions: The cover clips are molded to align with fixed holes. When the bracket pulls the cover out of plane, clips engage only partially, so they rattle, pop loose, or refuse to seat at all.
- Edge alignment: The upper edges have to meet the quarter panels and tail light surrounds. A bracket that tips the cover leaves one corner proud and buries the opposite corner.
- Depth: A bracket of the wrong thickness or offset moves the cover forward or rearward, throwing off the depth where it meets the tail light surrounds.
A stiff, well-molded cover makes these problems worse rather than better, because it resists the flex that might otherwise hide a slight bracket error. Correct the bracket, either by straightening a bent one or fitting a unit with the right dimensions, and the cover seats the way the factory intended. For owners sourcing a replacement, pairing correct bracket geometry with an OEM-spec Evo X rear bumper is the reliable path to clean, even gaps.
Check the Bracket Before You Install
Inspect the bracket before you blame the cover:
- Confirm the bracket is straight and square to the chassis datum points.
- Measure the offset and thickness against specification, not by eye.
- Test-fit the cover and check panel gap symmetry against both quarter panels.
- Verify clip engagement at every mounting point along the top edge.
When the bracket is true, the cover seats correctly, the clips engage fully, and the edges sit flush against the quarter panels and tail light surrounds. When it is not, no cover will save the fitment.
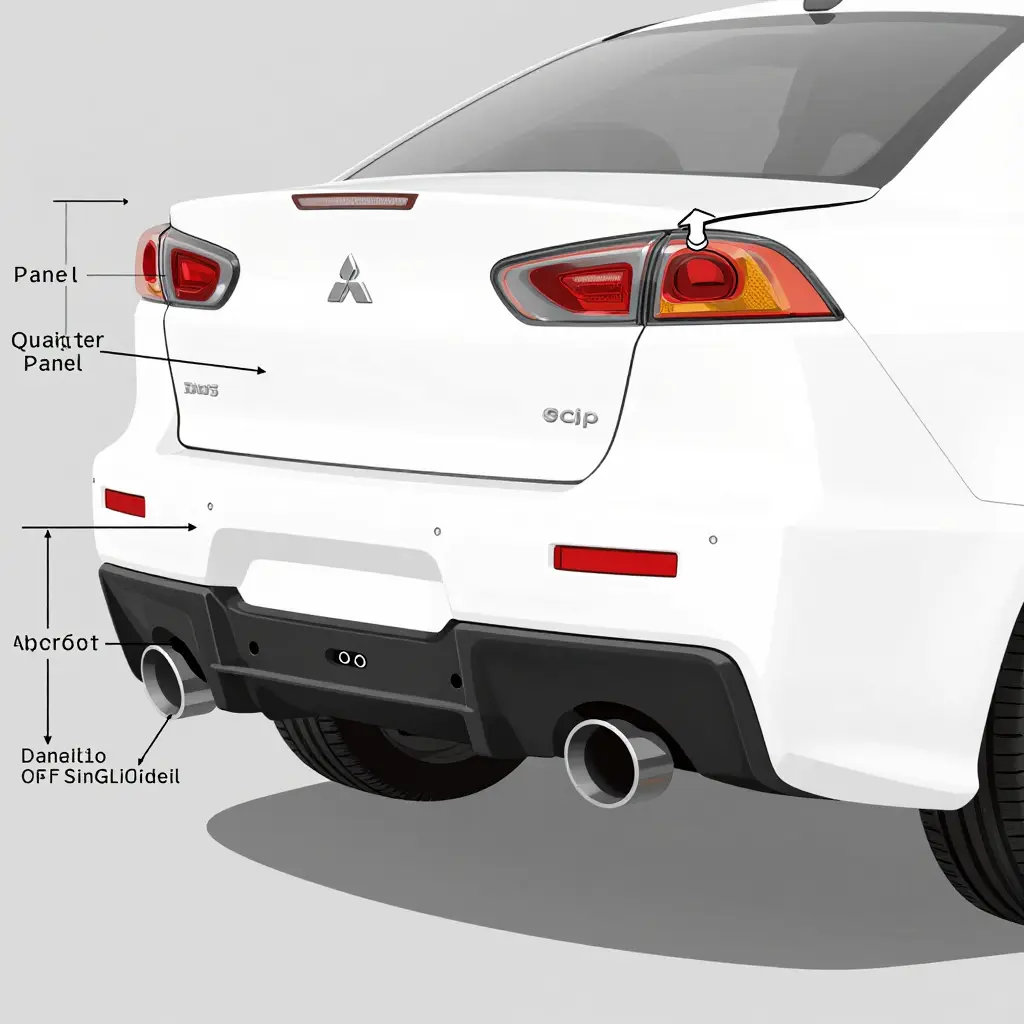
The bracket is the foundation and the cover is the finish. Get the foundation right, and the finish takes care of itself.
If you are sourcing a 2008-2015 Mitsubishi Lancer Evo X rear bumper, the bracket that comes with it matters as much as the cover. The table below shows how the common OEM and aftermarket configurations differ.
| Model Year Range | Trim | Bracket Type | Mounting Points | Common Fitment Impact |
|---|---|---|---|---|
| 2008-2011 | GSR | OEM steel crash beam bracket | Bolts to the rear frame rail, fixed geometry | Baseline fitment; OEM cover tabs align without shimming |
| 2008-2011 | MR | OEM steel crash beam bracket | Bolts to the rear frame rail, fixed geometry | Shares the GSR bracket; cover clips seat without adjustment |
| 2011 | SE | OEM bracket, MR-based hardware | Bolts to the rear frame rail | Same rear structure as the GSR and MR; verify the part number for your year |
| 2015 | Final Edition | OEM bracket | Bolts to the rear frame rail | Rear structure unchanged from other 2015 cars; match by part number |
| 2008-2015 | All | Aftermarket steel bracket | Vendor-specific hole spacing | Spacing may differ; can pull the cover out of alignment |
| 2008-2015 | All | Aftermarket aluminum bracket | Vendor-specific hole spacing | Lighter and more prone to flex; check tab height and depth |
The cover changes little from one trim to the next. What changes is the bracket: its tab geometry, offset, and hole spacing vary between model years and between OEM and aftermarket sources. Matching the bracket to the specific model year and trim is what locks in a flush, gap-free result.
7-Point Fitment Checklist for the Evo X Rear Bumper Bracket
Run the crash beam bracket through this sequence before you bolt anything back on. Doing it now is faster than discovering a problem after the bumper is painted and torqued down. When sourcing replacement OEM-fit Evo X rear bumper components, start with the bracket.
-
Verify the part number against the model year. Check the bracket’s stamped part number and casting marks against your CZ4A chassis and production year; brackets from different years vary in mounting-hole geometry and will not always interchange cleanly.
-
Inspect the bracket for bending or corrosion. Rest it on a flat reference surface and check the flanges for twist, dents, or rust scale. A bend of even 2-3 mm misaligns the cover, so replace the bracket rather than trying to straighten it.
-
Check the rear frame rail mounting points for damage. Examine the rail’s threaded bosses and weld nuts for elongation, stripped threads, or collision deformation, and chase the threads with a tap before reinstalling the bracket.
-
Measure bracket offset before installing the cover. Use a straightedge and calipers to confirm the bracket sits at the specified offset from the frame rail, shimming with factory spacers where the tolerance has drifted.
-
Confirm all hardware and correct torque. Match every bolt, clip, and push-pin to the factory size, then torque the bracket fasteners to the service specification so the cover sits on a rigid, non-flexing foundation.
-
Test-fit the cover before painting. Mock up the cover on the torqued bracket to check fastener alignment and edge clearance; painting a misaligned cover only locks the defect into the finish.
-
Recheck panel gaps after final tightening. Once the torque sequence is complete, measure the gaps against the quarter panels and taillights again, and adjust the bracket shims if the cover has shifted under load.
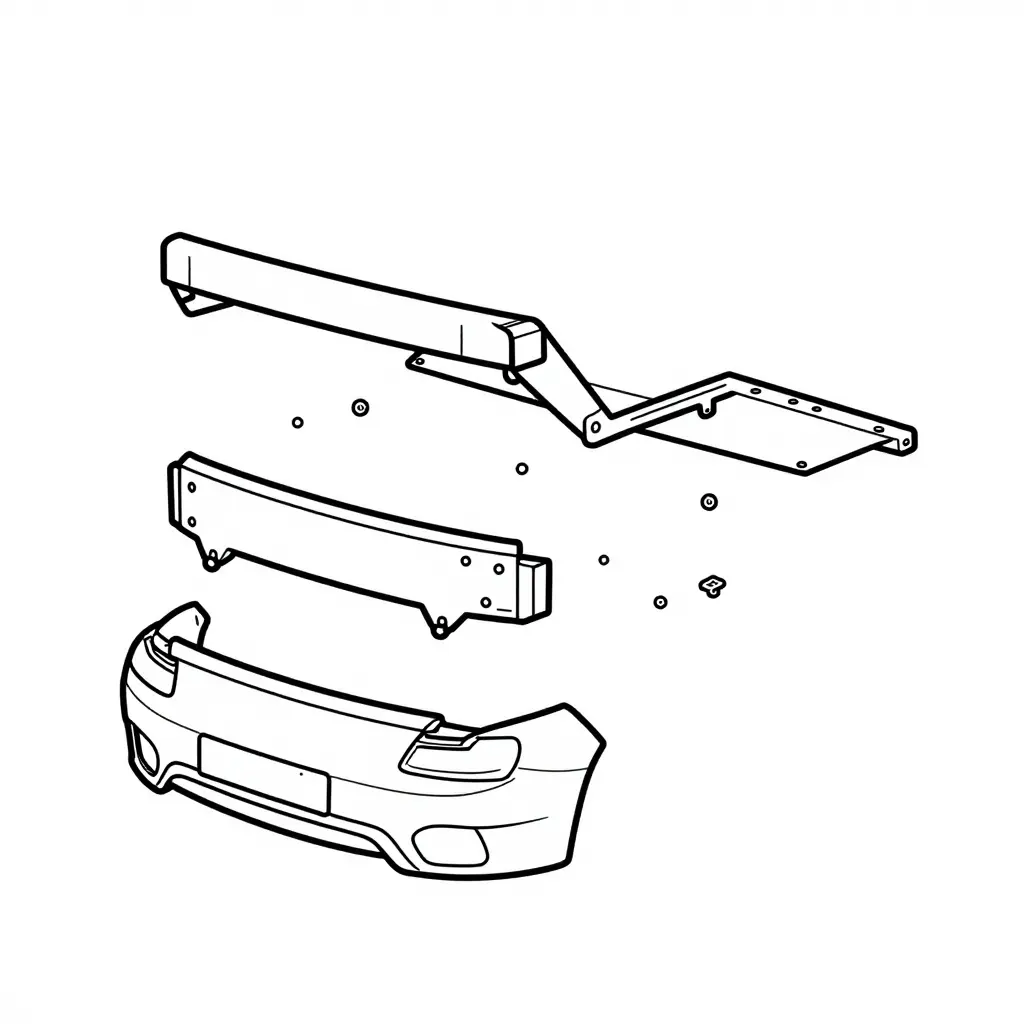
Exploded side view of the Evo X rear bumper assembly stack: rear frame rail, crash beam bracket, crash beam, and bumper cover. The small circle-and-line and U-shaped symbols mark the bolt and clip mounting points that tie each layer together. Notice the bracket between the frame rail and the beam: that interface governs whether everything lines up.
OEM vs. Aftermarket Rear Crash Beam Brackets: Where Fitment Is Really Decided
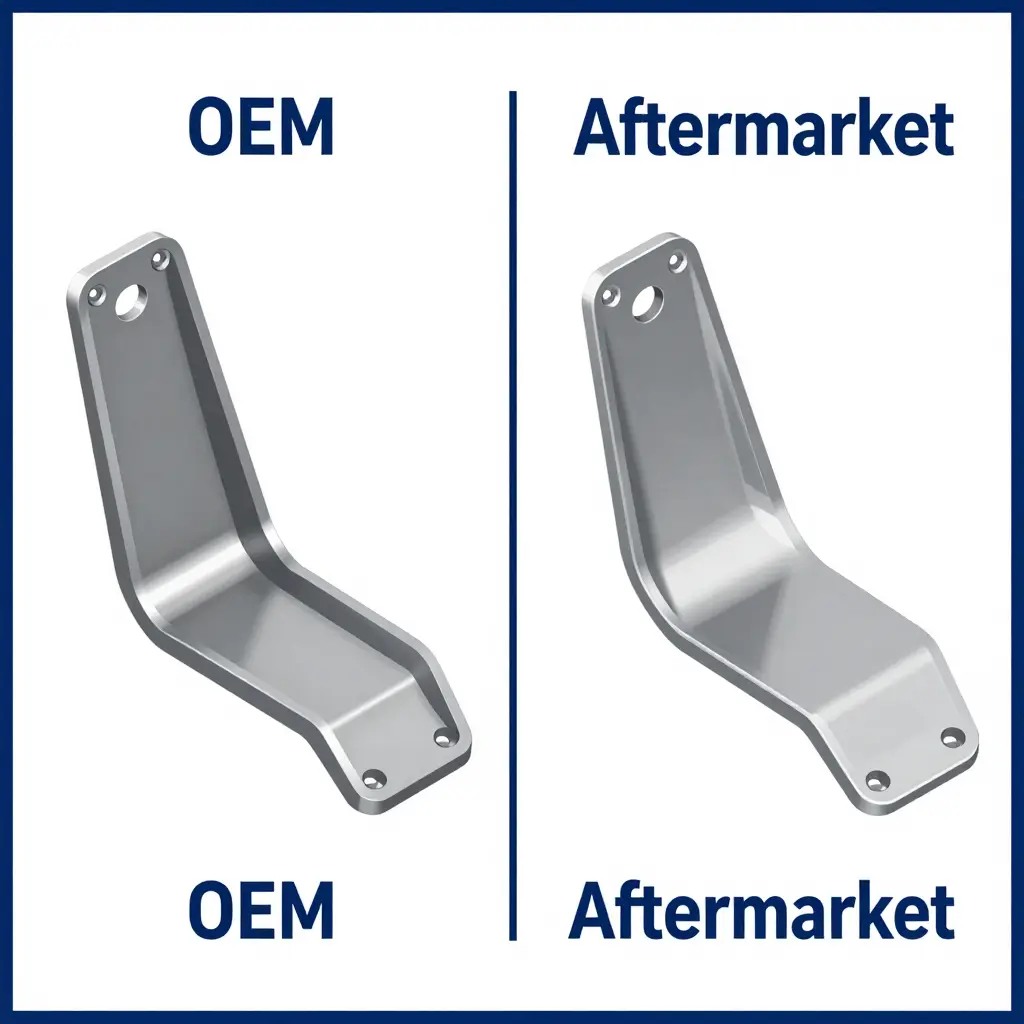
An Evo X rear bumper is only as straight as the steel underneath it. The bracket positions the cover relative to the crash beam and the quarter panels, and a bracket that is off shows up as a widened seam near the taillight, a lip that will not sit flush, or retaining clips that pop loose within a week of the install.
Material Thickness and Stamping Accuracy
OEM brackets are stamped from a controlled gauge of steel on production tooling, so wall thickness, bend radii, and the position of every formed feature stay consistent from part to part. Many low-cost aftermarket brackets use thinner steel to save cost. Thinner steel flexes under the cover’s weight and the preload of the clips, so the bracket deflects where the OEM part stays rigid. That deflection reads as a sagging valance or an uneven shut line long before anything looks obviously broken.
Stamping accuracy matters just as much. Production dies index each bracket to the chassis datum. Worn or loosely maintained aftermarket dies drift, so a bracket that measures close on the bench can sit several millimeters off once it is bolted to the car.
Corrosion Coating and Long-Term Stability
OEM brackets typically receive a multi-stage e-coat or zinc-based coating that reaches inside the formed channels, exactly where moisture collects behind a rear bumper. Budget brackets often carry a thin, uneven coat that leaves cut edges and seams bare. Surface rust starts there, swelling the metal and slowly shifting the geometry the cover was set to.
Mounting Hole Alignment: The Fitment Linchpin
The bracket’s bolt holes have to line up with the chassis mounting points without elongation, slotting, or force. When aftermarket hole positions drift by a few millimeters, installers compensate by enlarging holes, shimming with washers, or tightening against resistance. Each workaround tilts the bracket, and the cover follows, opening a panel gap at one corner while over-compressing the other.
| Attribute | OEM Bracket | Typical Low-Cost Aftermarket Bracket |
|---|---|---|
| Material thickness | Consistent, specified-gauge steel | Often thinner than nominal gauge |
| Stamping accuracy | Production die, tight tolerances | Loose tolerances, die wear and drift |
| Corrosion coating | Multi-stage e-coat / zinc, full coverage | Thin or uneven, bare cut edges |
| Mounting hole alignment | Indexed to chassis datum | Variances of several millimeters |
| Clip retention slots | Precise, square geometry | Rounded or oversized slots |
| Real-world outcome | Even gaps, positive clip engagement | Panel gap, sag, popping clips |
Why Cheap Brackets Cause Panel Gap and Clip Problems
The Evo X cover engages its clips along a fixed arc. If the bracket shifts the mounting plane, the clips no longer meet their slots squarely. The result is familiar: clips that click into place during the install but vibrate free on the road, gaps that only appear after the first drive, and a cover that needs constant re-seating. The bracket is usually the cause, not the cover.
Sourcing Brackets That Fit Right
Genuine OEM brackets and clean take-offs from a donor car preserve the original datum geometry, which is the biggest single predictor of an even, rattle-free fit. Buyers who want to match a bracket to a complete rear cover can browse the Evo X rear bumper assemblies, while those who prefer original hardware harvested from a donor platform often find the right match through an Evo X half-cut. Either route keeps the geometry that the aftermarket so often loses.
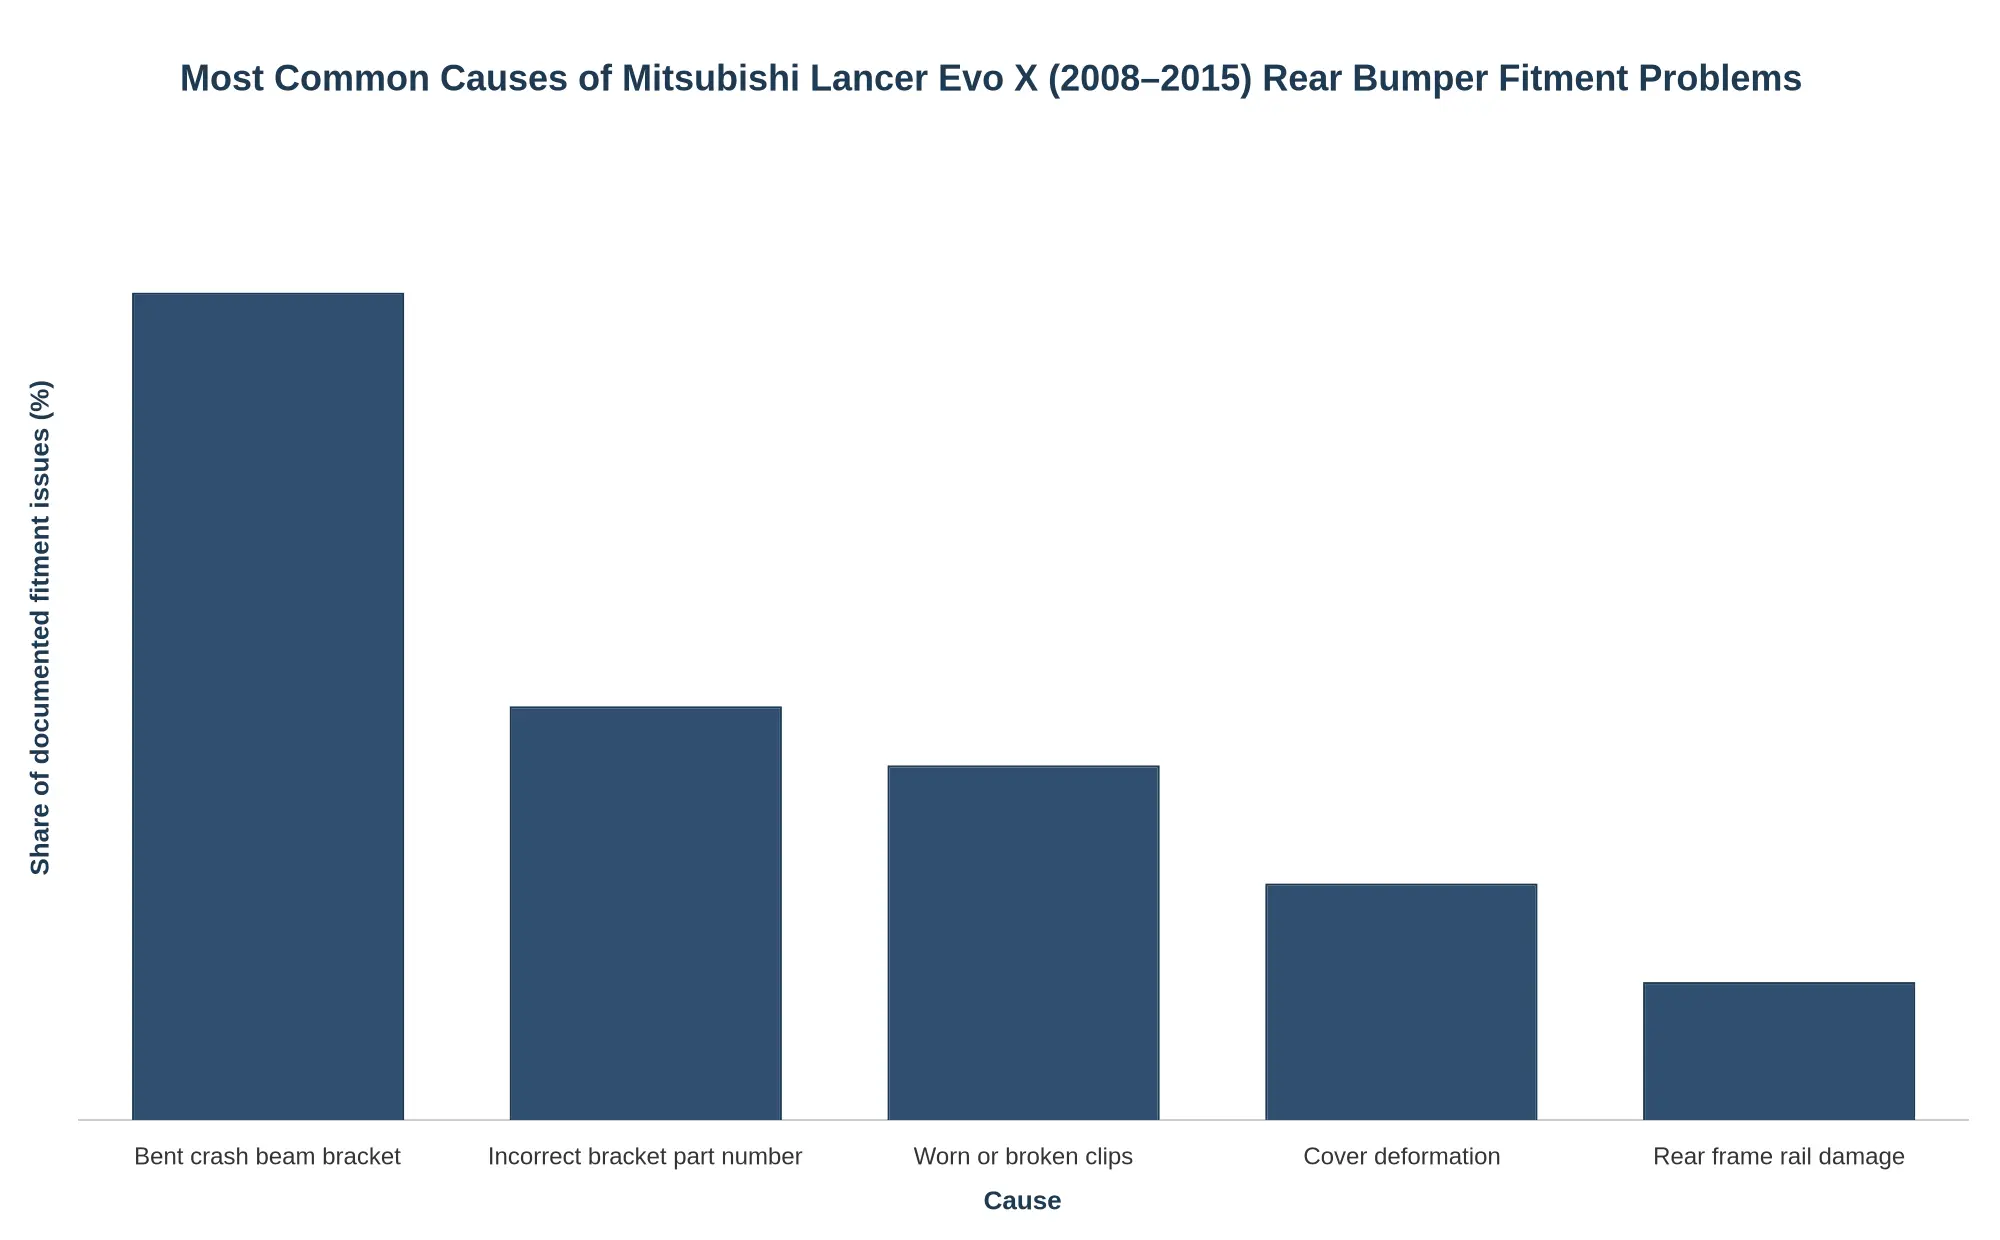
A bent crash beam bracket leads the reported causes of rear bumper fitment problems on the Evo X, ahead of an incorrect bracket part number and worn or broken clips.
Mounting Sequence and Torque Guidance
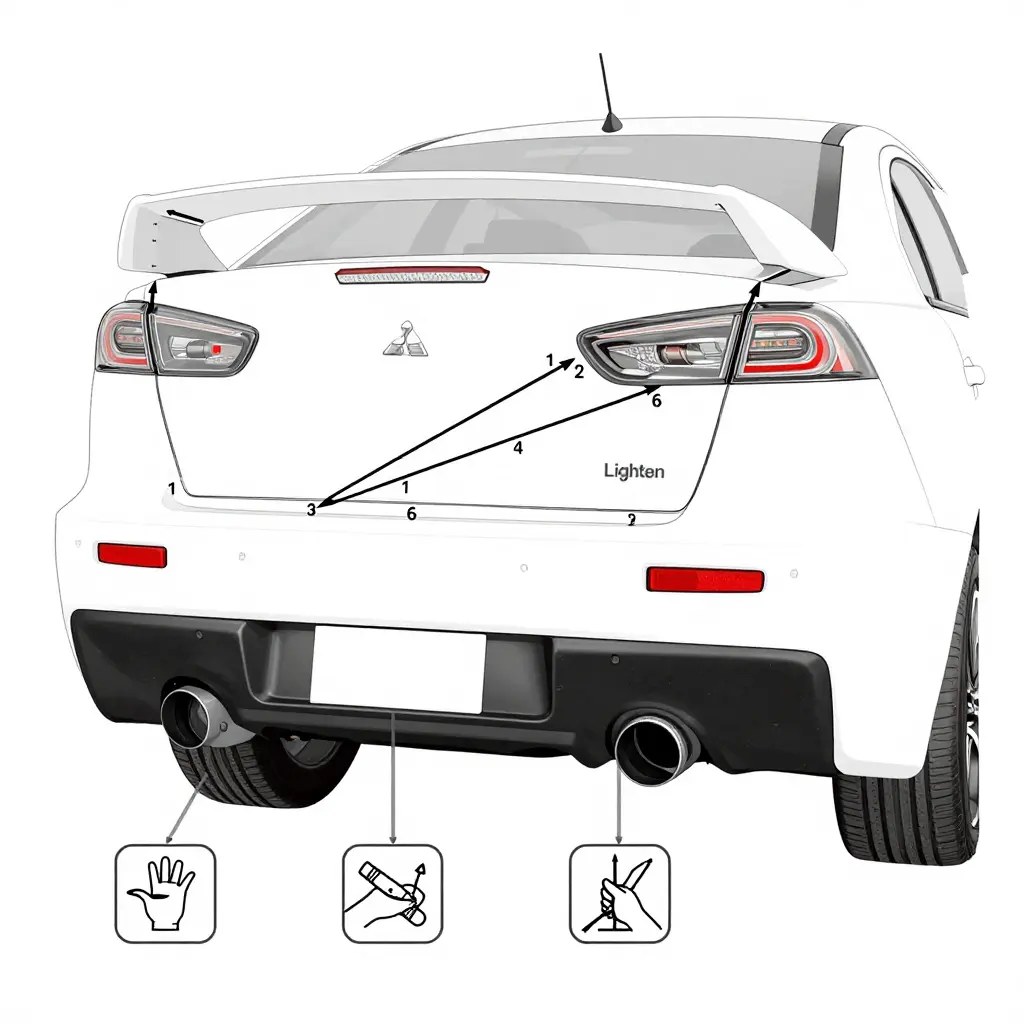
Treat the bracket as a structural body component, not a cosmetic trim piece. The order you tighten its fasteners in determines whether the cover lands flush and whether the gaps stay even on both sides. Work slowly, and let alignment guide the wrench.
Step 1 – Seat the bracket and start every bolt by hand
Position the crash beam bracket against its mounting points and thread all fasteners in by hand first. Do not run any bolt down with a power tool at this stage. Hand-starting each one keeps the threads clean and lets the bracket shift slightly while you find its natural position.
Step 2 – Snug in sequence, then check alignment
Bring the bolts down to light contact in a diagonal or cross pattern rather than front-to-back. This pulls the bracket down evenly and prevents one corner from cocking. Before you apply real torque, step back and check the reference points: mounting tab gaps, the beam-to-bracket face, and how the cover sits against the quarter panels.
If the cover gaps look uneven, loosen the fasteners a half turn and reposition. A bracket that is slightly off telegraphs straight through the cover, so correct it here rather than later.
Step 3 – Torque to factory specification
Once alignment is correct, tighten the fasteners to the manufacturer’s published torque value. Consult factory service data for the exact specification; the bracket is a load path, and both under- and over-torquing cause problems. Under-torque lets the bracket creep and rattle, while over-torque stretches bolts and can dimple thin sheet metal. If you lack the spec, stop and look it up before continuing. Reviewing OEM and replacement Lancer front and rear bumper components shows how these panels and their hardware assemble together.
Step 4 – Fit the cover, then re-torque
Install the bumper cover and confirm the clips and edge gaps sit evenly on both sides. After the cover is on and seated, revisit the bracket fasteners and re-check their torque. The added load from the cover can settle the bracket, so a second pass catches anything that has relaxed.
Quick reference
| Stage | Action | Wrench |
|---|---|---|
| 1 | Start all bolts by hand | None |
| 2 | Snug in diagonal sequence | Light |
| 3 | Verify alignment and gaps | None |
| 4 | Final torque to factory spec | Torque wrench |
| 5 | Refit cover, re-check torque | Torque wrench |
Follow that order, confirm the alignment before you commit to final torque, and check the exact figure in factory service data. The cover will fit the first time.
FAQ: Diagnosing Evo X Rear Bumper Fitment
These are the questions we hear most often from 2008-2015 Mitsubishi Lancer Evo X owners, DIYers, and body shops. Most of them come back to the same part.
Can I close a panel gap by adjusting only the cover?
No. The cover is a semi-flexible plastic shell that mounts to fixed reference points: the crash beam bracket, the quarter-panel retainers, and the taillight and trunk edge contours. Its slotted holes and clip positions give you only a few millimeters of movement. If the bracket is bent or mispositioned, the cover’s attachment datum is wrong, so shimming, slot tweaking, and clip bending only hide the problem. The bracket controls the cover’s vertical height, lateral centering, and the gap to the taillights and quarter panels, so it has to be corrected first.
Will an aftermarket cover fix a bent crash beam bracket?
No. A well-molded aftermarket or OEM cover replicates the factory mounting geometry, so it inherits any error in the bracket. If the bracket is bent, the new cover hangs just as crooked as the old one. Straighten or replace the bracket, verify it sits square on the crash beam, and only then install the cover.
How do I confirm my bracket matches the correct model year?
The 2008-2015 Evo X span includes a mid-cycle revision, so year-accurate sourcing matters. Check the part number stamped on the bracket, then cross-reference it against the Mitsubishi catalog for your specific VIN and model year. Confirm the crash beam stud positions, mounting hole pattern, and cover engagement points all line up. To compare complete assemblies, review our range of 2008-2015 Mitsubishi Lancer Evo X rear bumpers and match the correct bracket and cover combination.
Does the crash beam bracket differ between GSR and MR?
For the Evo X (CZ4A), the GSR and MR share the same chassis and rear bumper mounting architecture, so the crash beam bracket is functionally identical across those trims for a given model year. The 2011 SE also uses the same rear hardware. GSR-versus-MR differences live in the drivetrain, transmission, and brakes, not in the rear bumper bracket geometry. The model year is what actually changes the bracket, not the trim level.
Why does my cover keep popping off the clips repeatedly?
Repeated clip pop-off almost always traces back to the bracket. A bent, misaligned, or wrong-year bracket holds the cover under tension, and the clips cannot overcome that load. Secondary causes include worn or broken clips, missing clip retainers, and a cover that was never fully seated on the bracket. Confirm the bracket is straight and year-correct, replace any damaged clips, and reseat the cover evenly along the bracket before tightening fasteners.
The Bottom Line: Fix the Bracket First, Then the Cover
Every 2008-2015 Lancer Evo X rear bumper job follows the same order: correct the crash beam bracket first, then deal with the cover. The bracket is structural and the cover is cosmetic. When the bumper will not sit flush, the cause is usually a bent, corroded, or mismatched bracket. A fresh cover only relocates the problem.
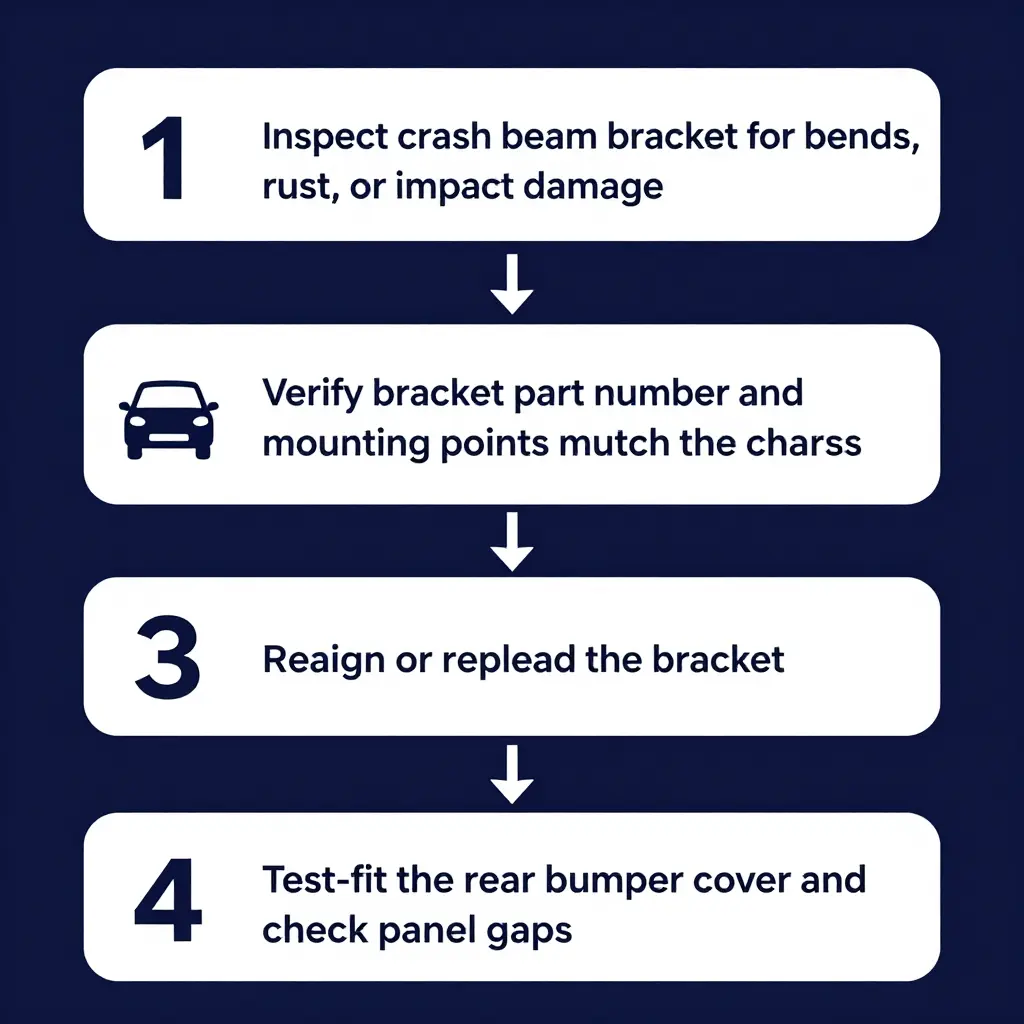
Diagnostic and Repair Workflow Recap
- Inspect the bracket first – check the crash beam bracket for bends, rust, or evidence of a prior impact.
- Verify fitment – confirm the bracket part number and mounting points match your specific chassis and model year.
- Correct or replace – realign or replace the bracket before you touch the cover.
- Test-fit the cover – mount the rear bumper cover only after the bracket is verified.
- Confirm clearances – check panel gaps, sensor mounts, and exhaust cutouts.
Before you purchase any rear bumper components, verify crash beam bracket compatibility with your Evo X. Browse our Evo X rear bumper category to match parts to your chassis with confidence.
Takeaway: Fix the bracket and the cover fits. Diagnose the crash beam bracket first, address the cover second, and the fitment problem disappears.